How to Change a Tire: Clear Instructions and Common Mistakes
Many drivers assume changing a tire is mainly a matter of loosening a few lug nuts and lifting the car. The difficult part is usually not the mechanical motion; it is choosing a safe location, using the correct lifting point, and recognizing when the spare is not suitable for normal driving.
I can make the process much less intimidating by separating it into clear decisions and steps. Learning how to change a tire also means knowing what to do before the vehicle leaves the ground, how tightly to secure the replacement wheel, and when roadside assistance is the safer choice.
The instructions below apply to a typical passenger car, crossover, minivan, or light truck with a spare tire. Vehicle designs differ, so the owner’s manual remains the final authority for jack points, lug-nut torque, spare-tire limits, and special procedures.
Before You Change the Tire
First, decide whether changing the tire where it failed is reasonably safe. A flat on a quiet, level driveway is very different from a blowout in an active traffic lane, on a narrow shoulder, or near a blind curve.
If the vehicle is in immediate danger from passing traffic, flooding, fire, unstable ground, or another hazard, call roadside assistance or emergency services. Do not stand between the car and moving traffic while preparing the jack.
Choose a safe location
- Move as far away from traffic as possible without driving on a completely flat tire for an extended distance.
- Stop on firm, level ground. Avoid soft shoulders, steep slopes, loose gravel, wet grass, and uneven pavement.
- Turn on the hazard lights, set the parking brake, and place the transmission in Park. For a manual transmission, select first gear or reverse.
- Have passengers exit on the side away from traffic and wait in a protected location.
- Set out warning triangles or flares if they are available and local conditions make them useful.
A car can roll or a jack can shift if the surface is sloped or unstable. If the only available location is dangerous, the right decision is usually to remain in the vehicle with the seat belt fastened and request professional help.
Find the equipment
Most vehicles store the spare, jack, lug wrench, and jack handle under the cargo floor, beneath a rear seat, or in a side compartment. Some vehicles use a separate tool for removing a wheel-lock key or lowering an underbody spare.
Before starting, identify these items:
- The spare tire and its size or type
- The factory jack and handle
- The lug wrench
- A wheel-lock adapter, if the wheels use locking lug nuts
- A flashlight, gloves, and a reflective vest if available
- Wheel chocks or a solid block for the tire opposite the flat
If the spare is missing, severely underinflated, damaged, or the tools do not fit, do not improvise with an unstable jack or unsuitable wheel. Call for assistance instead.
What You Need to Change a Tire
The basic equipment is simple, but each item has a specific purpose. The jack lifts the vehicle; it is not a safe support for working underneath the vehicle. The lug wrench removes and installs the wheel fasteners. The spare provides temporary mobility only if it matches the vehicle’s requirements.
| Item | Purpose | Important limitation |
|---|---|---|
| Jack | Lifts one corner of the vehicle | Use only at the manufacturer’s designated jack point |
| Lug wrench | Loosens and tightens lug nuts or bolts | Final tightening should follow the specified torque |
| Spare tire | Replaces the damaged wheel temporarily | A compact spare often has speed and distance limits |
| Wheel chock | Helps prevent rolling | It cannot compensate for an unsafe slope |
| Torque wrench | Applies the specified wheel-fastener torque | Use after lowering the vehicle; check the manual for the value |
A full-size spare may resemble the other tires, but it can still have a different tread pattern, age, pressure, or recommended use. A temporary compact spare, sometimes called a “donut,” is narrower and generally intended to get the vehicle to a repair facility, not to replace a normal tire permanently.

How to Change a Tire: Step-by-Step
1. Secure the vehicle
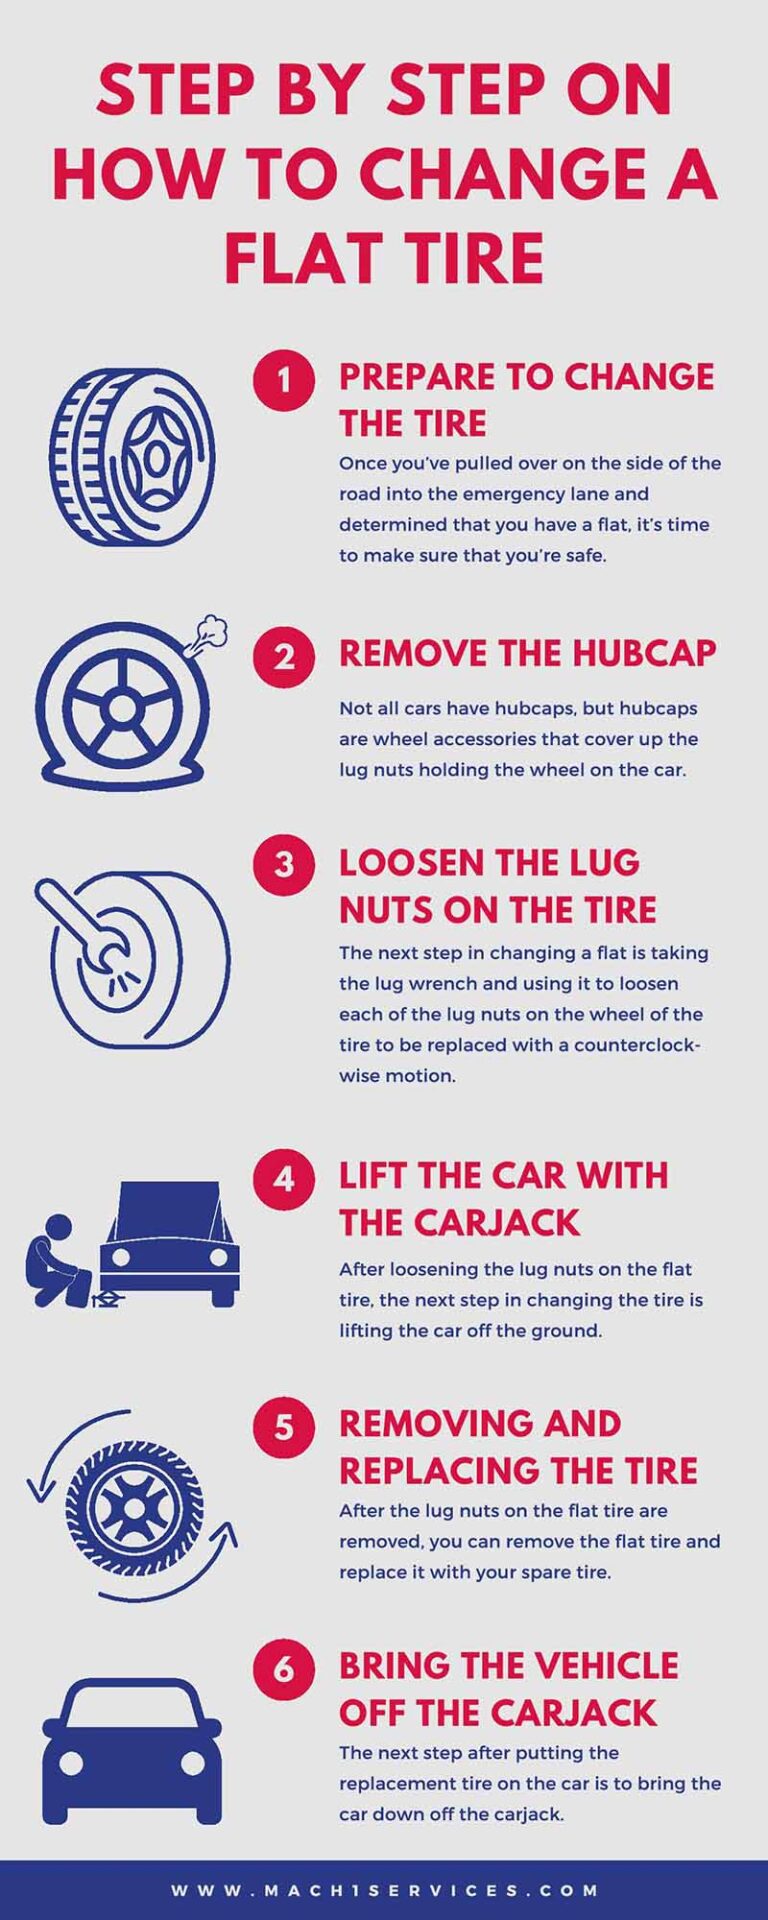
Park on level, firm ground and keep the steering wheel straight. Turn off the engine, engage the parking brake, and put the transmission in Park or in gear. Remove the spare and tools before positioning the jack.
Place a chock or solid block against the tire diagonally opposite the flat. For example, if the right-front tire is flat, chock the left-rear tire. If a proper chock is unavailable, a sturdy block may help, but never use a loose object that could roll or crumble.
Do not rely only on the parking brake. It may not prevent movement of every wheel while one corner is raised.
2. Remove the hubcap or wheel cover
If the lug nuts are covered, remove the hubcap or wheel cover according to the vehicle’s design. Some covers pull off with a provided tool; others are held in place by the lug nuts and come off only after those nuts are loosened.
Use care around plastic trim and painted wheels. A screwdriver can scratch the wheel or break the cover if it is inserted in the wrong location. The owner’s manual may show the intended removal point.
3. Loosen the lug nuts before lifting
With the tire still touching the ground fit the lug wrench fully onto one lug nut Turn it counterclockwise to loosen it If the nut will not move.
Loosen each nut by about one turn, but do not remove them yet. The vehicle’s weight helps keep the wheel still. Trying to break the nuts loose after the tire is airborne can make the wheel spin or destabilize the car.
Some vehicles use lug bolts rather than traditional lug nuts. The same general principle applies, but keep the bolts organized and avoid placing weight on a wheel that is not fully supported by its hub.
4. Position the jack correctly
Locate the manufacturer’s approved jack point. It is commonly a reinforced section of the frame, pinch weld, or suspension-related structure near the flat tire. The exact position differs by vehicle and may be marked by notches, arrows, or an illustration in the manual.
Place the jack on firm ground with its lifting surface centered under the jack point Make sure the jack is upright and its base is flat A small wood board can sometimes prevent sinking.
Never place the jack under a thin floor panel, plastic body panel, exhaust component, axle housing, or another point not approved by the manufacturer. Incorrect placement can bend the vehicle, damage components, or cause the car to fall.
5. Raise the vehicle
Operate the jack slowly and watch the contact point as the vehicle rises. Stop if the jack tilts, the base shifts, the vehicle moves, or the lifting pad begins to slide away from the approved point.
Raise the vehicle only high enough for the flat tire to clear the ground by a small amount. Excessive height increases instability and gives the vehicle more distance to fall if something goes wrong.
Keep every part of your body out from underneath the vehicle. Do not crawl under a car supported only by the factory jack. If more work is required than a tire change, use properly rated jack stands on approved support points and follow a separate service procedure.
6. Remove the lug nuts and flat wheel
Finish removing the loosened lug nuts by hand and place them together where they will not roll into traffic or collect dirt Pull the wheel straight toward you.
Once removed, lay the flat wheel on its side away from traffic. On some vehicles, placing the removed wheel under the vehicle can provide a limited secondary barrier if the jack fails, but it is not a substitute for a jack stand and should never encourage anyone to work underneath the car.
7. Install the spare
Align the spare’s center hole with the hub and slide it onto the mounting surface. If the wheel has directional markings, position it according to the arrow on the sidewall. Install the lug nuts or bolts by hand first, turning them in the correct direction until the threads engage smoothly.
Hand-starting the fasteners is important. A cross-threaded lug nut or bolt can damage the hub or wheel and may not secure the wheel correctly. If a fastener feels rough, crooked, or unusually difficult to turn by hand, stop and inspect the alignment.
Tighten the fasteners lightly in a crisscross or star pattern. For a five-lug wheel, move across the wheel rather than tightening adjacent fasteners in a circle. This helps seat the wheel evenly against the hub.
8. Lower the vehicle and tighten the fasteners
Lower the vehicle slowly until the spare touches the ground and cannot rotate freely, then finish lowering it completely. Remove the jack and store it safely away from the traffic side.
With the vehicle on the ground, tighten the lug nuts or bolts in a star pattern. The correct final value is the vehicle manufacturer’s specified lug-nut torque, usually listed in the owner’s manual or service information. A calibrated torque wrench is the most reliable way to apply it.
Do not estimate final tightness by standing on the wrench Over-tightening can stretch or damage fasteners and make future removal difficult Under-tightening can allow the wheel to loosen.
9. Check the replacement tire
Before driving, confirm that every lug nut is present and seated, the wheel is fully against the hub, and the spare is inflated to the pressure shown on the vehicle’s information label or in the manual. The pressure printed on the spare may differ from the pressure used by the regular tires.
Remove the wheel chock and make sure the jack and tools are secured. Do not leave them loose in the passenger compartment or cargo area, where they could become projectiles during braking.
Driving After Installing a Spare
A replacement wheel does not always restore normal driving capability. Read the spare’s sidewall and the owner’s manual before moving. A compact spare commonly has a lower maximum speed and a limited recommended distance. Those limits are safety requirements, not suggestions.
- Drive slowly and avoid sudden steering, hard braking, and rapid acceleration.
- Do not tow a trailer with a temporary spare unless the manufacturer specifically permits it.
- Avoid long trips, rough roads, and high-speed highways when a compact spare is installed.
- Do not use cruise control if the manual advises against it with the spare fitted.
- Repair or replace the damaged tire as soon as practical.
Handling may feel different because the spare can have a different diameter width tread or construction This matters especially on all-wheel-drive and four-wheel-drive vehicles A tire with a.
After driving a short distance stop in a safe place and visually confirm that the wheel remains seated and the fasteners have not backed out Have a tire.
When You Should Not Change the Tire Yourself
Changing a tire is not always the safest option, even if the spare and jack are present. I would choose professional assistance when the vehicle cannot be positioned safely or when the damage affects more than the tire.
- The car is stopped in an active lane, on a narrow shoulder, or near a blind hill or curve.
- The ground is soft, steep, icy, flooded, or unstable.
- The vehicle is carrying a heavy load that makes lifting unsafe.
- The jack, lug wrench, wheel-lock key, or spare is missing or damaged.
- The wheel is visibly bent, cracked, or separated from the tire.
- A tire has a sidewall blowout or another condition that makes it unsafe to handle.
- The lug nuts are seized, stripped, swollen, or impossible to remove without special tools.
- The vehicle has an unusual suspension, very low ride height, or a lifting procedure you cannot verify.
- An all-wheel-drive system requires matched tires and the available spare does not meet the requirement.
Never attempt to inflate or repair a tire that has been driven while severely flat unless a qualified professional has inspected it. Internal damage may not be visible from the outside.
Common Tire-Changing Mistakes
Using the jack on an unsafe surface
A jack can sink into soil, slide on a slope, or tilt on broken pavement. Level, solid ground is a basic safety requirement. If that is unavailable, roadside assistance is preferable to improvisation.
Skipping the lug-nut loosening step
Removing the lug nuts while the wheel is suspended often causes the wheel to spin. It can also transfer force into the jack. Break the initial resistance while the tire is still on the ground.
Raising the vehicle too high
Only enough clearance is needed to remove the flat and install the spare. Extra height increases the risk of instability without providing a benefit.
Putting part of the body under the car
The factory jack is designed for a tire change, not for supporting a person beneath a vehicle. Keep hands and feet positioned carefully and never reach underneath the chassis.
Installing the spare backward or incorrectly
Directional tires must point in the correct rolling direction. Some wheels also have different front and rear specifications or require special seating hardware. Confirm fitment instead of assuming every spare works on every corner.
Ignoring tire pressure
A spare that looks inflated may still be below its required pressure. Check it with a gauge if possible. The correct value may appear on the driver’s doorjamb label, in the manual, or on the spare’s sidewall, depending on the vehicle.
Tightening the lug nuts in a circle
A star pattern helps draw the wheel evenly against the hub. Finish with the manufacturer’s torque specification rather than relying on maximum force.
Leaving the flat tire and tools unsecured
The damaged wheel, jack, and wrench can move during braking or a collision. Return them to their designed storage locations and secure the cargo area before driving.
How to Prevent a Flat-Tire Emergency
A little preparation makes a roadside repair faster and safer. I recommend checking the spare and tools during routine maintenance rather than waiting for a flat to reveal a missing part.
- Inspect spare-tire pressure several times a year and before long trips.
- Confirm that the jack, handle, lug wrench, and wheel-lock adapter are present.
- Check tread depth, sidewall condition, and the age of all tires.
- Maintain the pressure listed for the vehicle, not the maximum pressure molded into the tire sidewall.
- Rotate and replace tires according to the vehicle and tire manufacturer’s recommendations.
- Keep a flashlight, gloves, reflective vest, and basic tire gauge in the vehicle.
- Learn the location of the vehicle’s jack points before an emergency.
- Review the spare’s speed, distance, and drivetrain restrictions.
A tire-pressure monitoring system can warn about a pressure loss, but it does not eliminate the need for visual checks. A warning may appear after damage has already occurred, and the sensor itself does not show whether a tire has a nail, sidewall cut, or other unsafe defect.
Frequently Asked Questions
How long does it take to change a tire?
A prepared driver may complete a normal spare-tire installation in roughly 20 to 30 minutes, but the time varies with traffic, weather, corrosion, equipment, and vehicle design. Safety matters more than speed. A difficult or dangerous roadside location is a reason to call for help.
Can I change a tire on a slight slope?
A slight slope is not ideal, and a steep slope is unsafe. The vehicle may roll and the jack may shift. If the car cannot be moved to firm, level ground without damaging the flat tire or creating a traffic hazard, request professional assistance.
Can I use any spare tire on my vehicle?
No. The spare must match the vehicle’s wheel fitment, load requirements, brake clearance, and drivetrain restrictions. The owner’s manual identifies approved spare use. An incompatible spare can damage the vehicle or create unsafe handling.
How tight should the lug nuts be?
They should be tightened to the manufacturer’s specified torque, measured with a torque wrench. The value varies by vehicle. If a torque wrench is unavailable during the emergency, tighten the fasteners evenly with the supplied wrench and have them checked immediately afterward.
Can I drive normally on a donut spare?
No. A compact spare is generally temporary and may have a lower speed limit, distance limit, or restrictions on towing and electronic driving aids. Follow the limits printed on the spare and in the owner’s manual, and replace or repair the full-size tire promptly.
Why will the lug nuts not come off?
They may be over-tightened, corroded, cross-threaded, or damaged. Use the correct-size lug wrench and controlled force while the vehicle remains on the ground. Do not strike the wrench, use an unstable extension, or continue if the fastener is rounding off. A roadside technician may have the necessary tools.
What should I do if my vehicle has no spare?
Check whether it has run-flat tires, an emergency inflator and sealant kit, or a manufacturer-approved mobility system. Sealant is not appropriate for every puncture and cannot safely repair major tread or sidewall damage. If the approved system does not apply, call roadside assistance.
Should I replace only the flat tire?
That depends on tread wear, tire type, drivetrain, and the manufacturer’s requirements. Replacing one tire can create a significant tread-depth difference, especially on all-wheel-drive vehicles. A tire professional should evaluate the remaining tires and recommend whether one, two, or all four need replacement.
Conclusion
Learning how to change a tire is mainly about controlled preparation secure the vehicle loosen the fasteners before lifting use the correct jack point install the spare evenly.