How to Plug a Truck Tire: Setup Steps and Troubleshooting Tips
A punctured truck tire can turn a routine drive into a roadside problem, especially when the tire is carrying a heavy load or the nearest tire shop is far away. An external tire plug can sometimes seal a small puncture in the central tread well enough to reach a repair facility, but it is not a universal fix. The location and size of the damage matter more than the fact that the tire is on a truck.
This guide explains how to plug a truck tire as a temporary roadside repair on a tubeless light-truck tire. It covers how to identify a repairable puncture, prepare the tire, insert the plug correctly, restore pressure, and check for leaks. It also explains when plugging is unsafe, including sidewall damage, shoulder punctures, large holes, and tires that have been driven while flat.
The safest long-term repair is normally an internal patch-plug installed after the tire is removed and inspected. If the tire is on a commercial truck, carries a heavy load, has run-flat damage, or cannot be safely accessed, stop and call a qualified tire service. A roadside plug should get you to professional help—not persuade you to keep using a compromised tire indefinitely.
At a glance
- Only consider an external plug for a small puncture in the middle of the tread, never the sidewall or shoulder.
- Use a tire-specific plug kit, keep the tire mounted, and avoid putting your hands or body in the wheel’s path.
- Afterward, check pressure and leaks, drive cautiously, and arrange a proper internal repair or replacement.
How to plug a truck tire safely for a temporary repair
The procedure below is intended for a tubeless tire on a light truck or pickup, such as a tire marked for light-truck use. It is not a substitute for the repair policy of a tire manufacturer or fleet operator. Before starting, move to a firm, level location away from traffic if possible, turn on the hazard lights, and set the parking brake.
Do not use this method if the puncture is in the sidewall or shoulder, if the tread is badly cut, if the tire has separated or formed a bulge, or if the tire was driven a significant distance without air. A tire that has lost pressure may have hidden internal damage even when the outside looks normal.
Tools you will need
- Tire plug kit with rubber plugs, a rasp or reamer, and an insertion tool
- Air compressor or portable inflator rated for the tire’s required pressure
- Needle-nose pliers or sturdy cutters for removing the puncturing object and trimming excess plug
- Soapy water in a spray bottle for locating leaks
- Gloves and eye protection for handling sharp metal and a pressurized tire
- Optional: tire pressure gauge and a flashlight for a clearer inspection

Step 1 Secure the truck and inspect the tire before touching the puncture
Park as far from moving traffic as conditions allow. If the truck is on a shoulder, stay on the side away from traffic, use warning devices only when you can place them safely, and do not work in a travel lane. A jack is not needed for an external plug, so do not crawl under the truck or place any part of your body beneath it.
Look over the entire tire, not just the object that caused the leak. Check for a sidewall bubble, exposed cords, a split tread, a separated belt, or a rim that is visibly damaged. Also note whether the tire is still supporting the truck evenly.
If you see structural damage or the tire is nearly off the rim, stop and request roadside service.
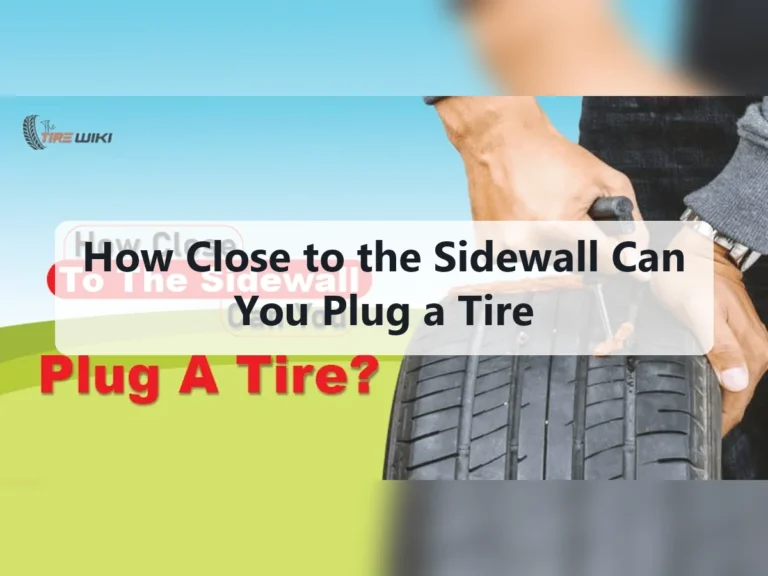
A plug is only a possibility when the hole is in the relatively flat, central tread area. The shoulder is the curved transition between tread and sidewall; damage there flexes too much for a dependable external plug.
Step 2 Confirm that the tire is a suitable tubeless tire
Check the tire sidewall for its size and construction markings, and confirm that it is a tubeless tire. Most modern pickup and light-truck tires are tubeless, but some specialty, agricultural, off-road, or older applications may differ. An external plug is not a solution for a tire with an inner tube.
Consider the truck’s load and use. A tire on a heavily loaded work truck, trailer, bus, or commercial vehicle experiences forces that make a roadside plug a poor choice. In those situations, use a spare or qualified tire service instead, even if the puncture appears small.
If you cannot identify the tire type or determine whether the hole is in the repairable tread area, do not guess. The cost and inconvenience of professional help are preferable to a sudden tire failure.
Step 3 Find and remove the puncturing object
If the object is a nail, screw, or similar item and the tire still holds some air, mark its location mentally or with a small piece of removable tape. Grip the object with pliers and pull it straight out. Keep your face and hands out of the immediate line of the object in case air escapes suddenly.
Listen and look for the leak after removal. A brief hiss is expected, but a rapid loss of air may leave too little pressure to move the truck safely. Do not repeatedly roll the vehicle to expose the hole; driving on a low tire can damage its internal structure.
Do not enlarge a puncture simply to make it easier to plug. If the object is large, the hole is irregular, or a piece of tread rubber is missing, the tire needs an internal inspection rather than an external repair.
Step 4 Prepare the plug and insertion tool
Read the instructions included with the plug kit because plug materials and tool designs vary. Most kits use a sticky, cord-like rubber plug and a slotted insertion tool. Thread one plug through the eye or slot of the insertion tool so its ends are approximately even, unless the kit specifies a different arrangement.
Keep the plug clean. Do not coat it with motor oil, grease, or an unapproved adhesive. Some kits include a lubricant or cement; use it only as directed.
The plug must remain compatible with the tire rubber and must be large enough for the kit’s stated puncture range. A useful way to approach how to plug a truck tire is to check your progress after each stage.
Put on gloves and eye protection before reaming the hole. The reamer has a sharp, rough surface, and pushing it into a pressurized tire requires controlled force. Avoid placing your face directly above the tool.
Step 5 Ream the puncture channel with controlled strokes
Insert the rasp or reamer into the puncture along the same path made by the object. Push it in and pull it out several times to clean and slightly prepare the channel, following the kit directions. The goal is to remove loose debris and create a consistent path for the plug—not to drill a much larger hole.
Keep the tool aligned with the tire’s original puncture. A sideways motion can damage the surrounding tread or make the channel irregular. You should feel the reamer pass through the tread rather than encounter a solid obstruction; if the channel will not accept the tool, stop instead of forcing it.
Important
Never attempt to plug a tire that is badly deflated while it is still carrying the truck’s weight if doing so requires unsafe access. Do not place your body under the vehicle, and do not remove the wheel unless you have the proper equipment and training.
Step 6 Insert the plug into the prepared hole
Push the loaded insertion tool into the puncture with steady pressure until the plug is seated according to the kit instructions. Many external plugs are left with short tails protruding above the tread. Do not twist the tool excessively, because the tool must release the plug without pulling it back out.
When the plug is positioned, withdraw the insertion tool in one smooth motion. The rubber should remain in the hole while the tool comes free. If the plug pulls out, inspect it; do not simply force the same damaged plug back in.
Prepare a fresh plug and reassess whether the hole is too large or irregular for the kit.
A correctly seated plug fills the puncture channel and has visible material on both sides of the tread surface. It should not be folded into a shallow pocket or pushed so far that no plug material remains in the tread.
Step 7 Trim the exposed plug without cutting into the tread
Use cutters to trim the plug tails close to the tread surface, following the kit directions. Leave the plug material flush enough that it does not catch on the road, but avoid digging the cutters into the tread blocks or slicing away surrounding rubber.
Do not apply a patch over the outside of the tire. An external plug is already a temporary repair, and adding random adhesive or rubber over it does not create the internal seal provided by a proper patch-plug repair.
After trimming, the plug should remain firmly seated when you lightly press around it. Do not pull on it to test it; that can loosen a repair that has not yet been pressure-tested.
Step 8 Inflate the tire to the correct pressure
Use an air compressor or inflator to restore the tire to the pressure specified for the truck’s load and tire position. Start slowly and keep your body away from the sidewall while air enters. The vehicle placard, usually found on the driver’s doorjamb, is the normal source for the truck’s recommended cold inflation pressure; the number molded into the tire sidewall is generally a maximum, not necessarily the truck’s target.
Check the pressure with a gauge, allowing for the fact that the tire may be warm or the gauge may be imprecise. Do not exceed the tire or wheel’s stated limits. If the tire will not build pressure, or air rushes out around the plug, stop inflating and arrange a spare or professional service.
The sidewall should return to a normal shape without a bulge, deep crease, or unusual distortion. Inflation does not prove that the tire is safe; it only makes the leak check and short movement to a repair facility possible.
Step 9 Test the plug for leaks and decide whether the truck can move
Spray soapy water generously over the plug and the nearby tread. Watch for at least several moments. A growing cluster of bubbles indicates escaping air and means the repair has not sealed.
Also check the valve stem, bead area, and wheel rim, because the puncture may not be the only leak. Understanding how to plug a truck tire also means recognizing the limits of the method.
If bubbles continue at the plug, let the tire down only if necessary for safe service, and do not drive on it. A second plug may not solve a hole that is too large or damaged internally. Call a tire professional or install a properly inflated spare.
If no bubbles form and the tire holds pressure, move only as far as needed to reach a qualified repair facility. Keep speed low, avoid heavy loads and abrupt maneuvers, and stop promptly if the truck pulls, vibrates, makes noise, or the tire-pressure warning returns.
How to verify the temporary truck tire repair
A successful external plug is defined by more than a plug that stays in the tread. The tire must hold the correct pressure, show no continuing bubbles, and remain free of visible distortion. Even then, the repair has not been converted into a permanent, manufacturer-approved repair simply because the truck drives normally.
Check the tire again after the truck has sat for a while and before the next trip. Compare its pressure with the other tires only as a rough observation; the correct pressure comes from the vehicle placard and load requirements, not from matching another tire.

Use these observable checks
- The plug remains seated and is not pulling out or separating.
- Soapy water does not produce expanding bubbles at the plug.
- The tire reaches and holds the required inflation pressure.
- The tread and sidewall have no bulge, split, exposed cord, or new distortion.
- The truck does not pull, shake, or produce a new thumping sound during cautious movement.
Check your result
A plug that leaks slowly is still a failed repair. Do not manage the leak by repeatedly adding air while continuing a normal trip; arrange an internal inspection or replacement.
When a truck tire should not be plugged
The puncture’s position is the most important limitation. The central tread is the only area where an eligible puncture may be repairable, and even there, the tire must pass an internal inspection. Flexible areas and structural damage cannot be made safe with a cord pushed through the outside.

Reject sidewall and shoulder damage
Do not plug a hole in the sidewall or in the curved shoulder near the sidewall. Those areas flex repeatedly as the tire rolls, so an external plug can work loose and cannot restore the tire’s original strength. A sidewall bubble, cut, or exposed cord calls for replacement or professional assessment.
Reject tires that have been driven flat
When a tire runs with little or no air, its sidewalls can be crushed between the road and wheel. The damage may appear as a dark ring, abrasion, or fine powder inside the tire, but it cannot be reliably evaluated from the outside. A tire service professional must remove the tire and inspect the interior.
Use extra caution with heavy-duty and commercial applications
A tire mounted on a loaded commercial truck, bus, trailer, or work vehicle may have higher loads and different repair requirements than a pickup tire. Fleet rules, tire manufacturer instructions, and local service standards may prohibit an external plug. Use a spare or contact commercial roadside assistance rather than treating a temporary cord as a normal repair.
Understand the difference between a plug and a patch-plug
An external plug seals from the outside and can be installed without removing the tire. A proper internal patch-plug is installed after the tire is demounted, inspected for hidden damage, and repaired from the inside. The stem fills the puncture channel while the patch seals the inner liner, which is why a patch-plug is generally the preferred permanent repair for an eligible puncture.
Troubleshooting a truck tire plug that will not hold
Most failed plugs result from an unsuitable puncture, inadequate preparation, a damaged plug, or a leak that was not actually at the puncture. Do not keep adding plugs without finding the cause. Multiple attempts can enlarge the hole and make a professional repair less likely.
| What you observe | What it may mean | Safer response |
|---|---|---|
| Bubbles form at the plug | The plug is not sealing or the hole is too large | Do not drive normally; use a spare or call tire service |
| Pressure drops but the plug is dry | Leak may be at the valve, bead, rim, or another puncture | Spray the whole tire and wheel, then seek inspection |
| Plug pulls out during insertion | It was not seated, is damaged, or the puncture is unsuitable | Stop repeated attempts and have the tire inspected |
| Vibration or pulling begins | Low pressure, internal damage, or a wheel problem | Stop in a safe place and do not continue at speed |
Do not confuse a slow leak with a successful repair
A very small bubble stream may take time to notice, especially in cool weather or dirty soapy water. Reclean the area and apply enough solution to cover the plug. If pressure falls overnight or during a short drive, treat the repair as unsuccessful even if the leak is difficult to see.
Know when the puncture is too large
Plug kits are designed for limited puncture sizes, and their instructions control. A screw hole and a torn opening are not equivalent. If the plug does not fill the channel firmly, if tread rubber is missing, or if the reamer moves loosely, stop and use professional service.
Beginner questions about plugging a truck tire
These answers address common decisions after a small tread puncture. They do not replace the tire maker’s repair limits or an inspection by a qualified technician.
Can I plug a truck tire without removing it from the truck?
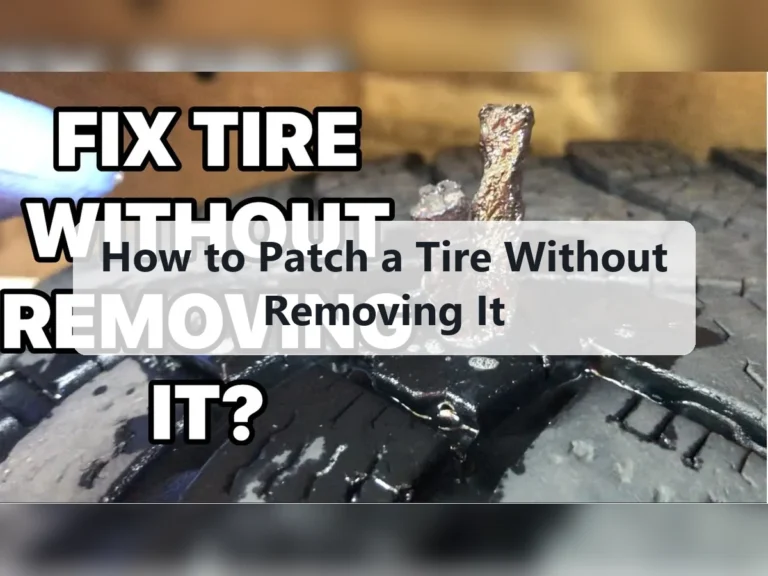
You can sometimes install an external plug with the wheel still mounted, which is why plug kits are used for roadside emergencies. The tire should still be inspected internally before it is considered permanently repaired, and you should never work beneath an unsupported vehicle.
Is a tire plug a permanent repair?
An external plug should be treated as temporary, particularly on a truck that carries substantial weight. Have an eligible tire demounted and inspected for an internal patch-plug repair, or replace it if the damage or wear makes repair unsuitable.
How far can I drive after plugging a truck tire?
There is no universal safe distance. If the plug passes the leak check, the practical goal is a cautious trip directly to a tire professional, not continued commuting or hauling. Stop immediately for pressure loss, vibration, pulling, noise, or visible tire changes.
Can I plug a puncture near the edge of the tread?
Do not plug damage in the shoulder or the sidewall. The outer tread edge flexes heavily and is not treated like the central repairable tread area. A technician should determine whether an edge puncture can be repaired; many require replacement.
Should I use a plug or install the spare tire?
Use the spare when the puncture is in a prohibited area, the tire is badly deflated, the truck is heavily loaded, the plug will not seal, or you are uncertain about the damage. A properly inflated spare is usually the safer temporary option than an improvised repair.
Use a truck tire plug only to reach proper service
Learning how to plug a truck tire can help with a small, central-tread puncture when a tire shop is not immediately available. The repair requires a suitable tubeless tire, a clean puncture channel, a properly seated plug, correct inflation, and a careful leak check.
Its limits are just as important as the procedure. Never rely on an external plug for sidewall or shoulder damage, a tire driven flat, a visibly damaged tire, or a heavily loaded commercial application. If the plug holds, drive cautiously to a qualified tire shop for an internal inspection and patch-plug repair or replacement.
That final check is what turns a temporary roadside solution into a responsible next step.