How to Patch a Tire with a Screw in It: Step-by-Step Instructions
Finding a screw in a tire is unsettling, especially when the tire is losing air but still looks usable. The good news is that a small puncture in the center of the tread can often be repaired. The important distinction is that a quick external plug and a permanent internal repair are not the same thing, even though people often call both a “patch.”
For a safe long-term fix, the tire should be removed from the wheel, inspected inside and out, and repaired with an approved patch-plug combination when the damage meets the tire maker’s limits. A beginner can identify the puncture, preserve the tire safely, and use an emergency plug to reach a repair facility, but should not treat that roadside plug as a guaranteed permanent repair.
This guide explains how to patch a tire with a screw in it without confusing a temporary fix with a proper repair. You will learn how to judge the puncture’s location, avoid making the damage worse, understand the professional repair process, check for leaks afterward, and recognize the conditions that mean the tire needs replacement instead.
At a glance
- Do not pull the screw out until you know how you will control the air loss.
- A puncture in the repairable tread area may qualify for an internal patch-plug repair; sidewall and shoulder damage generally does not.
- An external plug can get you to a tire shop, but an internal inspection is needed for a lasting repair.
How to patch a tire with a screw in it safely and correctly
The safest method depends on whether you need to reach a repair facility or are asking what a permanent repair involves. If the tire is rapidly losing air, the screw is near the sidewall, or the tire has been driven while flat, stop and arrange roadside assistance or a tire professional. If it is holding air and the screw is in the middle of the tread, you can usually preserve it for inspection and transport it to a qualified repair location.
Tools you will need
- A tire pressure gauge, to determine whether the tire is losing air and to check the finished repair
- An air compressor or inflator, only if needed to restore pressure enough to move the vehicle safely a short distance
- Soapy water in a spray bottle, for locating an air leak
- Optional: a spare tire or roadside emergency kit, if the damaged tire cannot safely be driven
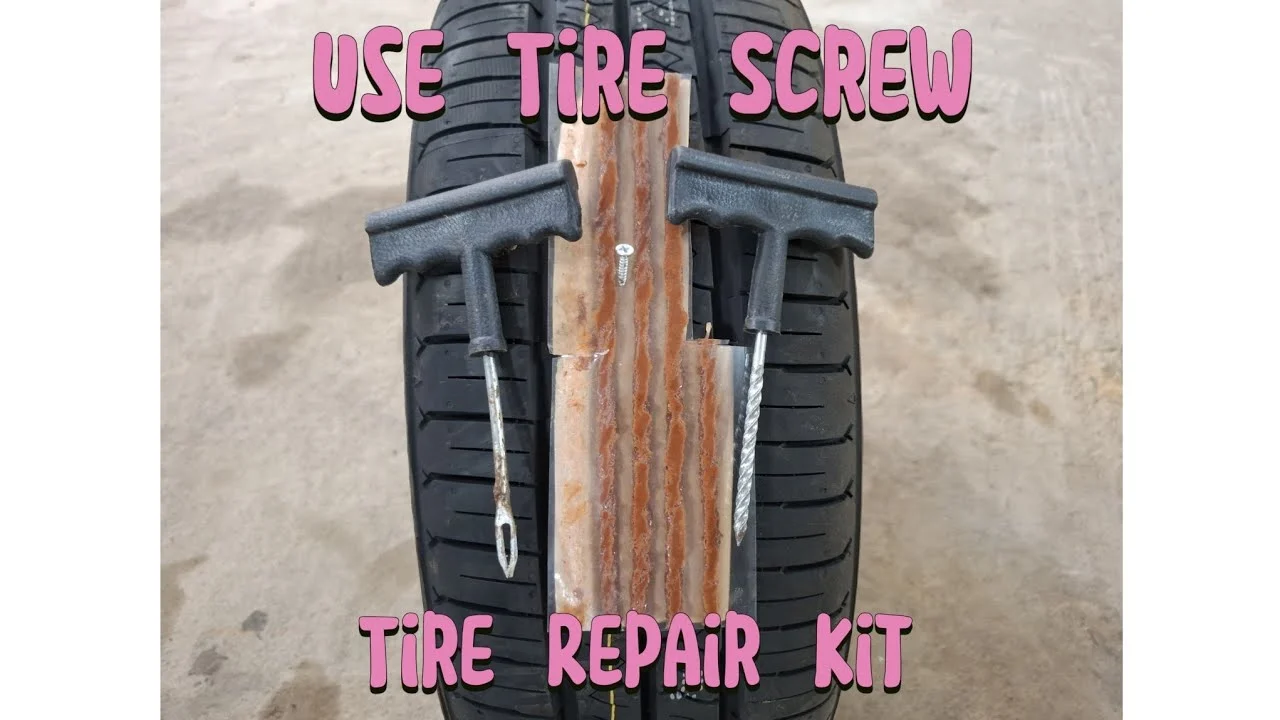
- Optional: a quality tubeless tire plug kit for temporary travel only, when the puncture is in the center tread and the kit instructions allow it
Step 1 Park safely and assess the tire before touching the screw
Move the vehicle to a level, stable place away from traffic. Turn off the engine, set the parking brake, and use hazard lights if the vehicle is stopped near a roadway. Do not crawl under a vehicle supported only by a jack, and never remove a wheel beside moving traffic unless the situation is unavoidable.
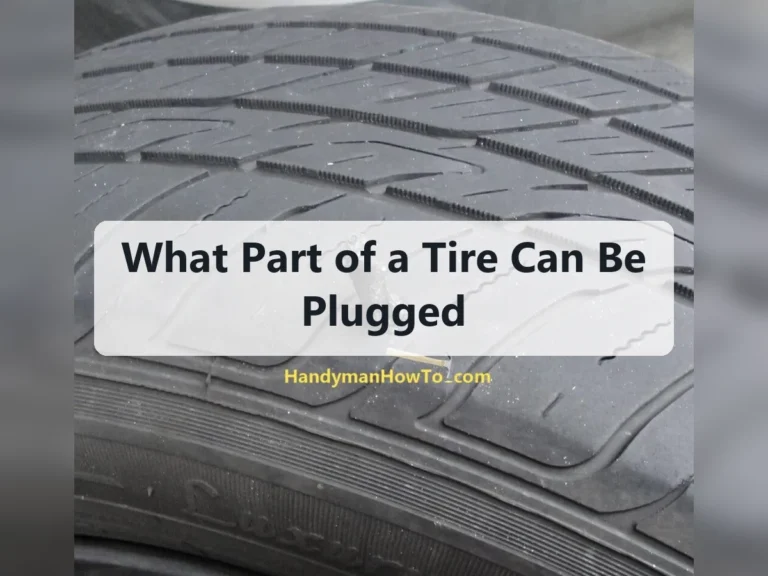
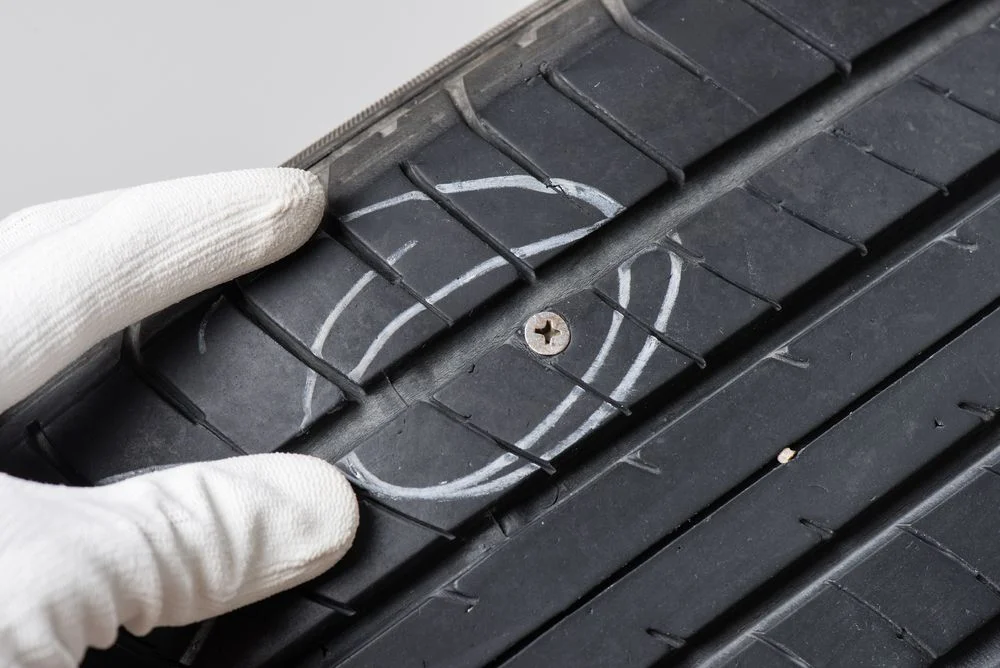
Look at the screw’s location without pulling it out. The center tread is the broad, grooved area that normally contacts the road. The shoulder is the curved area where the tread turns toward the sidewall, and the sidewall is the flexible vertical section containing the tire markings.
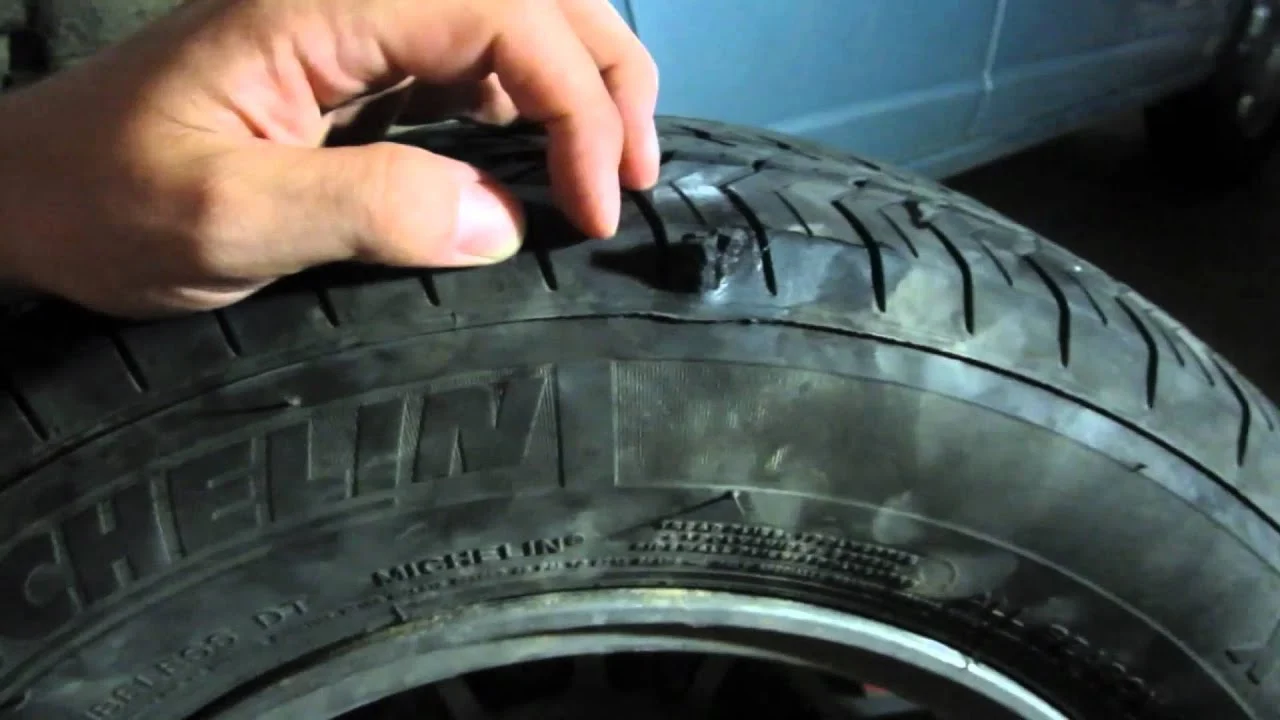
A puncture in the center of the tread has the best chance of repair. A screw in the shoulder or sidewall is usually not safely repairable because those areas flex too much. Also look for a bulge, cut, exposed cords, separated rubber, or a visibly collapsed tire.
Any of these signs calls for replacement or professional inspection rather than a plug.
Step 2 Measure the air pressure and identify whether the leak is active
Press the tire gauge firmly onto the valve stem and compare the reading with the vehicle manufacturer’s recommended cold pressure. That number is normally printed on the driver’s doorjamb label or listed in the owner’s manual; it is not the maximum pressure molded into the tire sidewall.
If the pressure is close to the recommended value, spray soapy water over the screw, the valve stem, and the bead area where the tire meets the wheel. Small bubbles that steadily grow identify an air leak. If the tire is nearly empty, do not assume adding air makes it safe to drive.
Driving on an underinflated tire can damage its internal structure even when the visible puncture is small.
Do not remove the screw merely to “see how bad it is.” The screw may be slowing the leak, and pulling it out can cause a rapid loss of air. Leave it in place while you arrange a spare, mobile repair, or transportation to a tire shop.
Step 3 Choose transport instead of a roadside repair when the tire is unsafe to drive
Use the vehicle’s spare tire according to the owner’s manual, or call roadside assistance, if the tire is flat, the pressure will not hold, or the damage is outside the center tread. A full-size spare can normally be used as a replacement while the damaged tire is inspected. A temporary compact spare has speed and distance limits that must be followed.
If the tire is holding pressure and the repair facility is very close, inflate it to the vehicle’s recommended pressure and drive cautiously only if the tire manufacturer and vehicle instructions permit it. Avoid highways, heavy loads, abrupt steering, and unnecessary distance. Check the pressure again before leaving and stop if the vehicle pulls, vibrates, or the tire begins losing air.
Important
Do not drive on a flat or severely underinflated tire just because the screw is still visible. Internal sidewall damage from driving flat may make the tire unsafe even if an external plug appears to seal it.
Step 4 Have the tire removed for an internal inspection
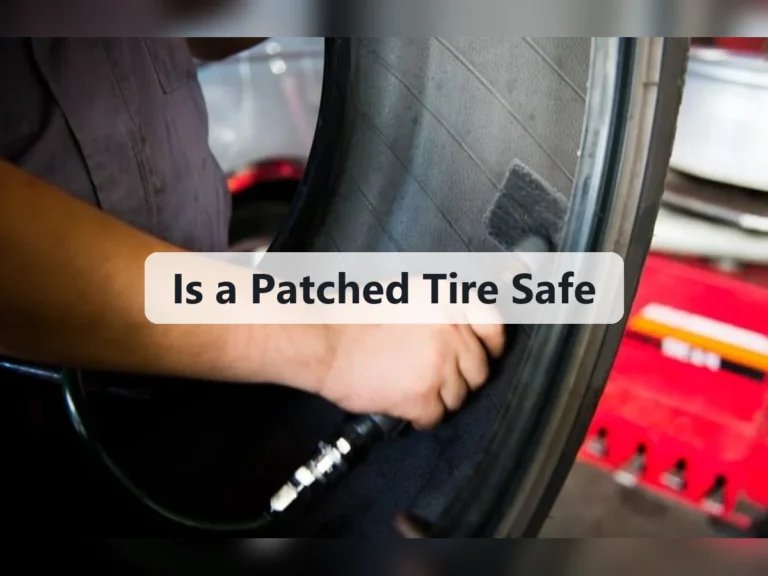
A permanent repair begins with removing the tire from the wheel. This allows the technician to inspect the inside for abrasion, liner damage, moisture, and evidence that the tire was driven while underinflated. The technician also confirms the puncture’s angle, size, and location rather than judging it only from the outside.
A useful way to approach how to patch a tire with a screw in it is to check your progress after each stage.
This part requires a tire-changing machine and the knowledge to avoid damaging the tire bead, wheel, or TPMS sensor. A tire pressure monitoring system, or TPMS, may use a sensor attached to the valve stem inside the wheel. For that reason, removing a mounted tire is not a good beginner project with hand tools.
Step 5 Use an approved patch-plug repair when the tire qualifies
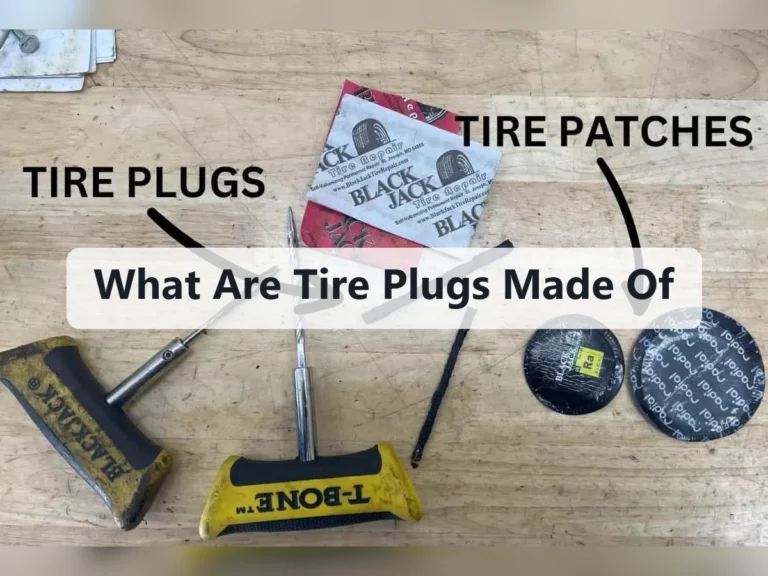
For a qualifying puncture, the usual permanent repair is a combination repair: a rubber stem fills the puncture channel, while an internal patch seals against the inside liner. This is commonly called a patch-plug. The puncture channel is prepared from the inside, and the repair material is installed according to its manufacturer’s instructions.
The repair must be centered in the tread’s repairable area and within the size limits specified by the tire manufacturer or repair-material manufacturer. The tire also needs enough remaining tread and must be free from other conditions that require replacement. A plug pushed into the hole from the outside does not let the technician inspect the inner liner and is not equivalent to a patch-plug repair.
The technician should not repair a tire simply because it stops bubbling in soapy water. A repair can seal the hole while the tire remains unsafe because of sidewall damage, excessive wear, a previous improper repair, or internal damage from low pressure. Inspection determines whether sealing the puncture is appropriate at all.
Step 6 Reinstall the wheel and inflate it to the vehicle’s specified pressure
After the repair material has been installed, the tire is remounted on the wheel and inflated to the vehicle manufacturer’s recommended cold pressure. The wheel is then checked for a proper bead seat, and it may need balancing if the tire was removed or if vibration was present.
If the vehicle has TPMS, confirm that the warning light goes out as instructed by the owner’s manual. Some systems relearn automatically; others require a reset or a short drive. A TPMS light that remains on does not automatically mean the patch failed, but it does mean the system needs attention before normal driving.
Step 7 Verify the repair and the tire before returning to normal driving
Spray soapy water over the repaired area and inspect for growing bubbles. Also check the valve stem and the bead around the wheel, because a leak in one of those locations can be mistaken for a puncture leak. The repaired area should remain dry and bubble-free while the tire is inflated.
Check the pressure again after the tire has sat for a while and compare it with the doorjamb specification. If the pressure falls, bubbles return, or the vehicle develops a vibration or pull, stop driving and have the tire reinspected. A repair that holds air at the shop but loses pressure later needs a second evaluation.
Keep the screw or another record of the puncture location only if the technician requests it; do not reinstall the screw after it has been removed. Dispose of the damaged fastener safely, and never leave a tire plug tool, loose screw, or sharp repair material where it can injure someone or damage another tire.
What makes a tire puncture repairable?
A repairable puncture is generally a small penetration in the central tread of a tire that has not been driven while seriously underinflated. Exact limits vary by tire and repair standard, so the visible screw alone is not enough to approve a repair. The tire must pass an internal inspection.
Understanding how to patch a tire with a screw in it also means recognizing the limits of the method.
The tread area is suitable for repair because it is reinforced and changes shape less than the sidewall. The shoulder and sidewall flex heavily as the tire rolls, so a patch or plug there may not remain secure. A repair in those areas can fail suddenly, which is why responsible tire shops normally recommend replacing the tire.
| Location or condition | Typical action |
|---|---|
| Small puncture in the center tread | May qualify for an internal patch-plug repair after inspection |
| Puncture in the shoulder or sidewall | Usually replace the tire; do not use a plug or patch as a permanent fix |
| Visible cords, bulge, split, or separated rubber | Replace the tire and inspect the wheel |
| Tire driven while flat or very low | Require internal inspection; replacement may be necessary |
| Existing repair near the new puncture | Needs professional assessment; multiple repairs may disqualify the tire |
Why an external plug is not the same as a patch
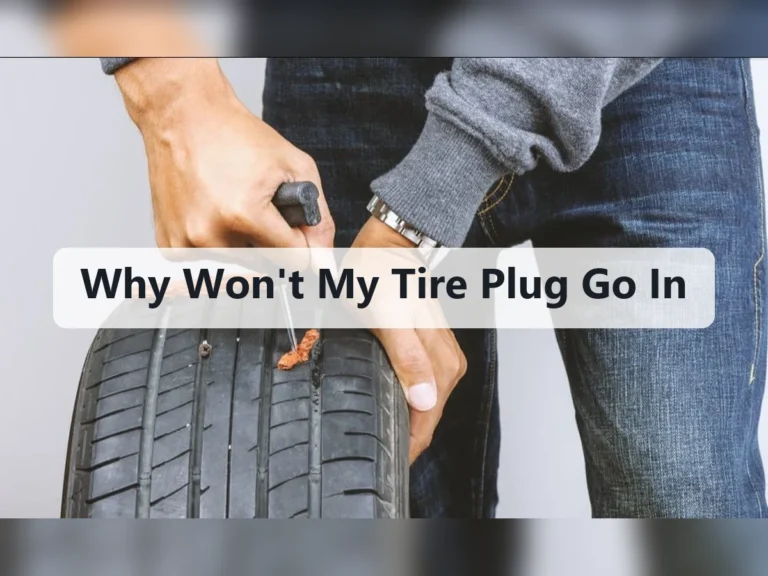
An external plug is a sticky rubber strip inserted through the tread from the outside with a reaming and insertion tool. It can seal a small hole well enough to restore mobility, which makes it useful in an emergency. However, the process does not expose the tire’s inner liner or show whether the tire was damaged while flat.
Some plug kits are marketed for permanent use, but a plug-only repair still should not be treated as a substitute for an internal inspection when a safe, lasting repair is the goal. If you use one to reach help, tell the technician exactly what you did. The shop may remove it and install a proper patch-plug, or it may recommend replacing the tire.
How to check the result after the repair
A successful repair should do more than stop the original bubble stream. The tire should hold the correct pressure, the repaired tread should look secure, and the vehicle should behave normally. These checks are simple, but they do not replace the internal inspection that determined whether the tire was safe to repair.
- Confirm the cold tire pressure against the driver’s doorjamb label, not the sidewall maximum.
- Check the repaired area with soapy water and look for growing bubbles.
- Inspect the valve stem and bead if pressure continues to drop.
- Look for a TPMS warning light after the repair.
- During the first drive, pay attention to pulling, vibration, thumping, or unusual tire noise.
- Recheck the pressure before longer trips and whenever the vehicle has been parked for an extended period.
Check your result
A practical success check is stable pressure plus no bubbling at the repaired area, valve stem, or bead. A smooth test drive is helpful, but it cannot prove that a tire with structural damage is safe.
Troubleshooting a tire that still loses air
Continued air loss does not always mean the patch-plug itself failed. The original puncture may have been too large, the repair may not have sealed the channel, or the leak may be coming from the valve, wheel, or bead. Find the source before adding more air and continuing to drive.
The tire loses pressure within minutes
Treat a rapid leak as unsafe for driving. Use a spare or have the vehicle transported. A repair attempt should not be repeated from the outside, and the tire should be inspected for a large puncture, bead damage, or a split liner.
The repaired area bubbles during the leak test
The repair is not sealing correctly, or the puncture extends beyond the repair material. Do not trim, push, or add another plug on top of it. Release the tire to a qualified tire professional for a new assessment.
The tire holds air, but the TPMS light remains on
Check the pressure in all tires, including the spare if the vehicle monitors it. If every tire has the specified pressure, follow the vehicle’s TPMS reset procedure. A persistent warning may indicate a sensor or system fault rather than a leaking patch.
The vehicle vibrates after the repair
Vibration can come from a wheel that needs balancing, a tire that was not seated correctly, a damaged wheel, or internal tire damage. Reduce speed and have the assembly inspected rather than assuming the repair only needs more sealant or air.
Frequently asked questions about a screw in a tire
Can I leave the screw in the tire overnight?
If the tire is holding air, leaving the screw in place is usually safer than pulling it out before you have a repair plan. Check the pressure, avoid unnecessary driving, and arrange a spare or professional inspection as soon as practical. A screw can still allow a slow leak, so do not assume the tire is safe merely because it looks inflated.
Can I patch a tire without removing it from the wheel?
You can insert an external plug without removing the wheel, but that is not a proper internal patch inspection. A lasting patch-plug repair requires access to the inside of the tire, which normally means removing it from the wheel with suitable equipment.
How long can I drive on a tire plug?
There is no universal safe distance or time for a plug-only repair. It should be treated as an emergency measure for reaching a qualified repair facility, not as permission for normal highway driving. The tire may also have hidden damage that a plug cannot correct.
Can a screw in the sidewall be repaired?
A screw in the sidewall should generally be considered non-repairable. The sidewall flexes continuously, so a patch or plug may not remain secure. Have the tire replaced and ask the technician to inspect the wheel if the tire lost pressure suddenly.
Should I use tire sealant instead of a patch?
Sealant may temporarily slow a leak, but it does not repair structural damage or replace an internal inspection. It can also complicate later repairs and affect TPMS components, depending on the product. Use it only if the vehicle or tire instructions specifically support it, and disclose its use to the repair facility.
The safest way to patch a tire with a screw in it
Learning how to patch a tire with a screw in it starts with making the right distinction: a roadside plug may help you reach assistance, while a permanent repair normally requires removing the tire, inspecting it internally, and installing an approved patch-plug in the repairable tread area. Do not repair a shoulder or sidewall puncture, and do not drive a flat tire just because the screw is still blocking the hole.
Leave the screw in place while you check pressure and arrange help, then verify the repaired tire with a pressure check and leak test. If air loss continues, the TPMS warning remains unresolved, or the vehicle vibrates, stop using the tire and have it evaluated again. When the damage falls outside repair limits, replacement is the safe result.