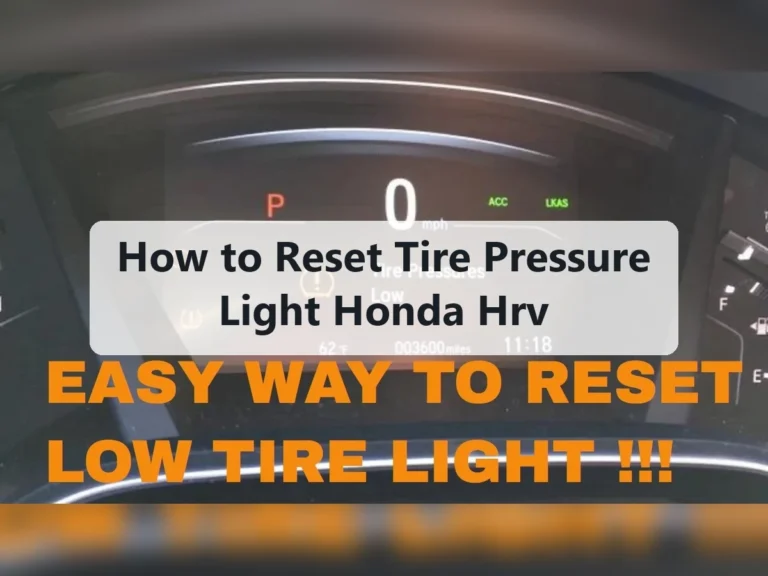
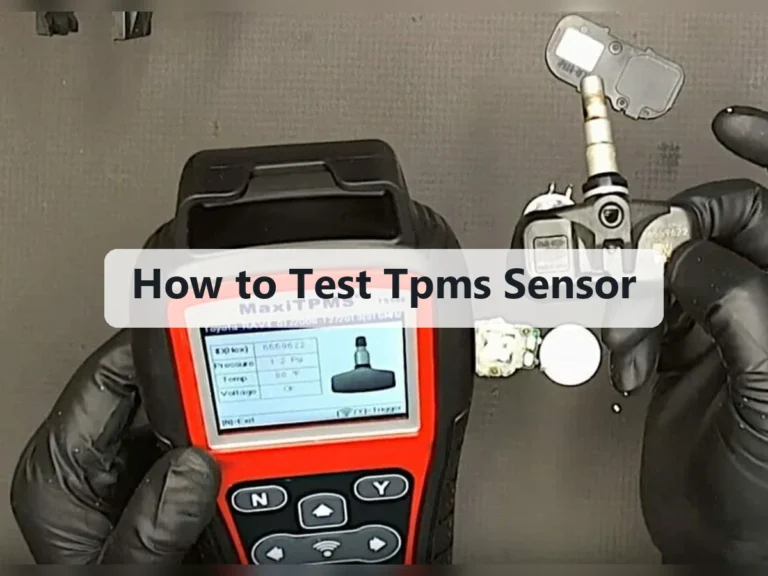
How to Reset Tire Pressure Light Honda CRV Safely: Clear Steps
A tire-pressure warning on a Honda CR-V can remain lit even after you add air. That does not always mean the reset failed. The system may need to be recalibrated, the tires may still be below the recommended pressure, or a temperature change may have triggered the warning in the first place.
For most Honda CR-V model years, the safe fix is straightforward: check all four tires when they are cold, adjust them to the pressure shown on the driver’s door-jamb label, then initialize or calibrate the tire pressure monitoring system. The exact menu names vary by model year and equipment, so do not assume every CR-V uses the same button sequence.
This guide explains how to reset tire pressure light honda crv models using the appropriate dashboard, steering-wheel, or touchscreen controls. You will also learn how to confirm that the warning has cleared, what to do if it returns, and when a persistent light points to a tire problem or a TPMS fault rather than a simple reset issue.
At a glance
- Set tire pressure from the driver’s door-jamb label, not the number molded into the tire.
- Use the CR-V’s TPMS calibration or initialize function after correcting pressure.
- A light that flashes, returns quickly, or appears with a message may require inspection.
How to reset tire pressure light honda crv safely
The reset process has two parts: correct the actual air pressure, then tell the vehicle to relearn or calibrate the tire-pressure baseline. Resetting the warning without checking the tires can hide a genuine low-pressure condition, so begin with the tires rather than the dashboard menu.
Tools you will need
- A reliable tire-pressure gauge, used to compare each tire with the vehicle specification
- An air compressor or tire inflator, if any tire needs air
- Optional: the owner’s manual, useful for confirming your model year’s menu path
Step 1 Park safely and let the tires cool
Park on a level surface away from traffic, switch off the CR-V, and allow the tires to cool before measuring them. “Cold” generally means the vehicle has been parked for several hours or has been driven only a short distance at low speed. Driving heats the air inside the tires and can make the gauge reading higher than the normal reference pressure.
Set the parking brake if appropriate, and avoid checking a tire that is visibly damaged, severely deflated, or separating from the wheel. If a tire looks flat or you hear air escaping, do not continue driving on it just to perform a reset.
Step 2 Find the recommended cold tire pressure
Open the driver’s door and look for the certification or tire-information label on the door frame or door pillar. It lists the recommended cold tire pressure for the CR-V’s original tire and wheel configuration. The front and rear pressures may be the same or different, so read the entire label.
Use that vehicle-specific number rather than the maximum pressure printed on the tire sidewall. The sidewall figure is a limit related to the tire, not the normal operating pressure selected for your Honda. If the CR-V has aftermarket wheels or a different tire size, confirm the correct specification with a qualified tire professional.
Step 3 Measure all four tires and the spare if equipped
Remove the valve cap from each tire and press the gauge firmly onto the valve stem. Record the reading for the front-left, front-right, rear-left, and rear-right tires, then compare each result with the door-jamb label. Some CR-V versions monitor the spare tire as well, while others do not; check the owner’s manual if you are unsure whether the spare is part of the system.
Look at the tread and sidewalls while you work. A nail, screw, bulge, deep cut, or visibly uneven wear can explain why the warning appeared. Do not remove an embedded object from a tire; removing it can make the leak worse.
Step 4 Adjust the pressure to the vehicle specification
Add air to any tire below the recommended pressure and recheck it with the gauge. If a tire is overinflated, release air in short bursts and measure again. Replace each valve cap when the reading is correct so dirt and moisture do not enter the valve.
Do not deliberately set the tires above or below the door-label specification to make the warning disappear. If one tire is substantially lower than the others, or it loses pressure again soon after inflation, stop treating the issue as a reset problem and arrange a tire inspection.
Important
Do not calibrate the system with a damaged, flat, or actively leaking tire. Correct the tire problem first, and use roadside assistance or a tire professional if the vehicle cannot be moved safely.
Step 5 Turn the ignition on without starting the engine
Sit in the driver’s seat with the tires set correctly. Turn the ignition to the on position without starting the engine. On a push-button CR-V, press the engine-power button without pressing the brake pedal; the dashboard and accessories should turn on.
This gives you access to the vehicle settings while keeping the engine off. If the battery is weak or the vehicle does not enter the on mode, resolve that issue before attempting calibration.
Step 6 Open the CR-V’s TPMS calibration or initialize menu
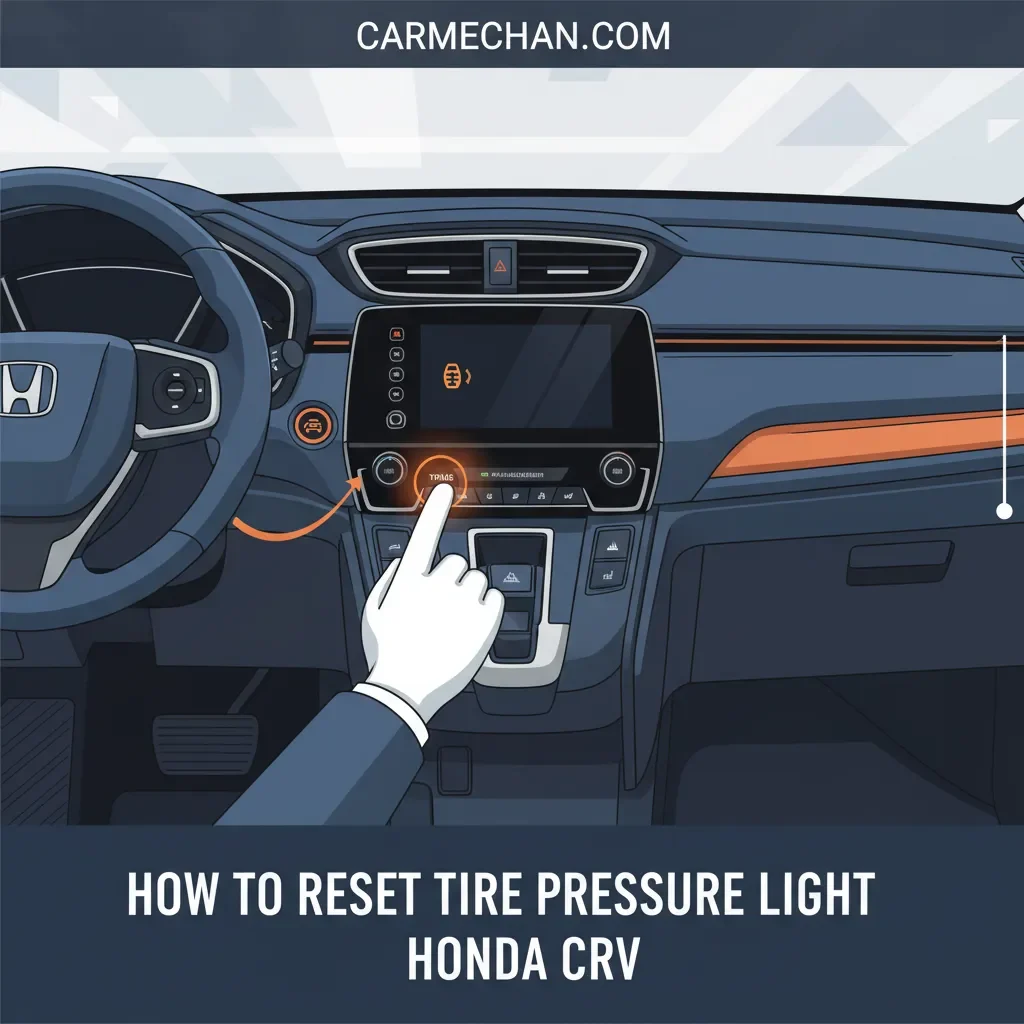
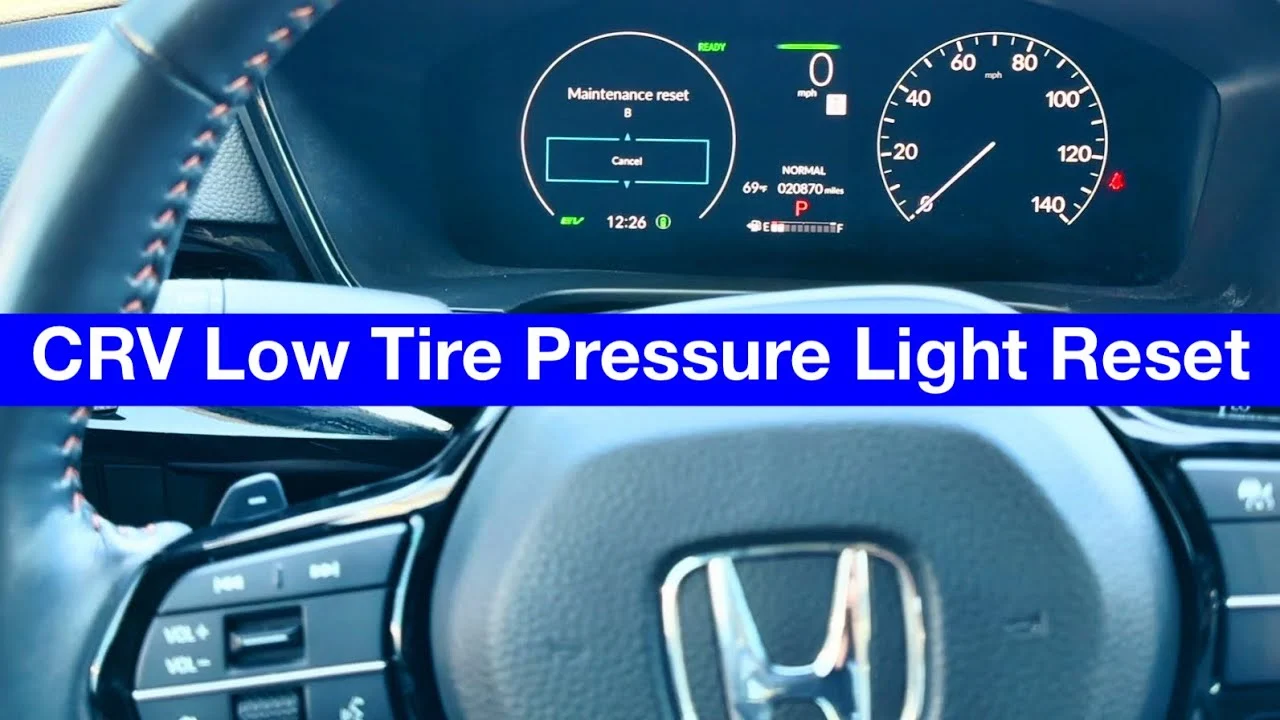
The control location depends on the CR-V’s model year and trim. Common paths include a TPMS or Customize Settings button to the left of the steering wheel, steering-wheel information controls, or the touchscreen settings menu. Look for wording such as TPMS Calibration, “Calibrate,” “Initialize,” or “Deflation Initialize.”
On many CR-Vs with a touchscreen, the path is similar to Home, Settings, Vehicle, and TPMS Calibration, but menu labels can differ. Older models may use the instrument-panel information display instead. If you cannot find the function, use the owner’s manual for the exact procedure rather than selecting an unrelated maintenance reset.
A useful way to approach how to reset tire pressure light honda crv is to check your progress after each stage.
Step 7 Start the calibration and confirm the prompt
Select the calibration or initialize command and confirm it when the CR-V asks whether you want to proceed. The vehicle may display a confirmation message, sound a chime, or show a TPMS indicator while the process begins.
This command does not pump air into the tires and does not repair a sensor. It establishes the current, correctly inflated tire condition as the reference the system will use. If the menu refuses to start, return to the pressure check and make sure the ignition is in the correct on position.
Step 8 Drive normally so the system can complete calibration
After starting calibration, drive the CR-V under normal conditions so its system can compare wheel-speed information and complete the relearn process. The exact driving time and speed can vary by model year, so follow the owner’s manual if it gives a specific instruction. Avoid aggressive acceleration, hard braking, or unnecessary high-speed driving during this learning period.
The warning may not go out immediately when you leave the driveway. The vehicle needs movement to collect information, and some versions may complete the process only after several minutes of ordinary driving.
Step 9 Verify the warning and the actual tire pressures
After the calibration drive, park safely and look at the instrument panel. A successful result is usually a tire-pressure warning that remains off when the vehicle is started again. If your CR-V displays individual pressure readings, compare them with your gauge; the dashboard display is useful for monitoring but should not replace a physical pressure check when accuracy matters.
Check the tires again later when they are cold, especially if the warning appeared because of a suspected leak. The reset is complete only when the tires remain properly inflated and the warning does not return during normal use.
Why the Honda CR-V tire-pressure light comes on
The CR-V uses a tire pressure monitoring system, commonly called TPMS, to warn you when a tire may be significantly underinflated. Depending on the model year, the system may infer pressure changes from wheel-speed sensors rather than display a pressure sensor inside every tire. That is why calibration is important after correcting pressure or changing tires.
Cold weather is a common cause of a low-pressure warning. Air pressure falls as temperatures drop, so a tire that seemed acceptable in warmer weather may cross the warning threshold overnight. A slow puncture, leaking valve, damaged wheel, or tire bead can cause the same warning to return after inflation.
Direct and indirect TPMS systems
A direct TPMS system measures pressure with sensors mounted in the wheels or valve assemblies. An indirect system estimates a pressure difference by comparing how quickly the tires rotate. The CR-V has used different system designs across model years and markets, so the presence or absence of individual pressure numbers on the display can vary.
With an indirect system, calibration after setting pressure is especially important because the vehicle needs a new baseline. With a direct system, the vehicle may relearn sensor information automatically or require a specific initialization process after tire service.
What the dashboard symbols mean
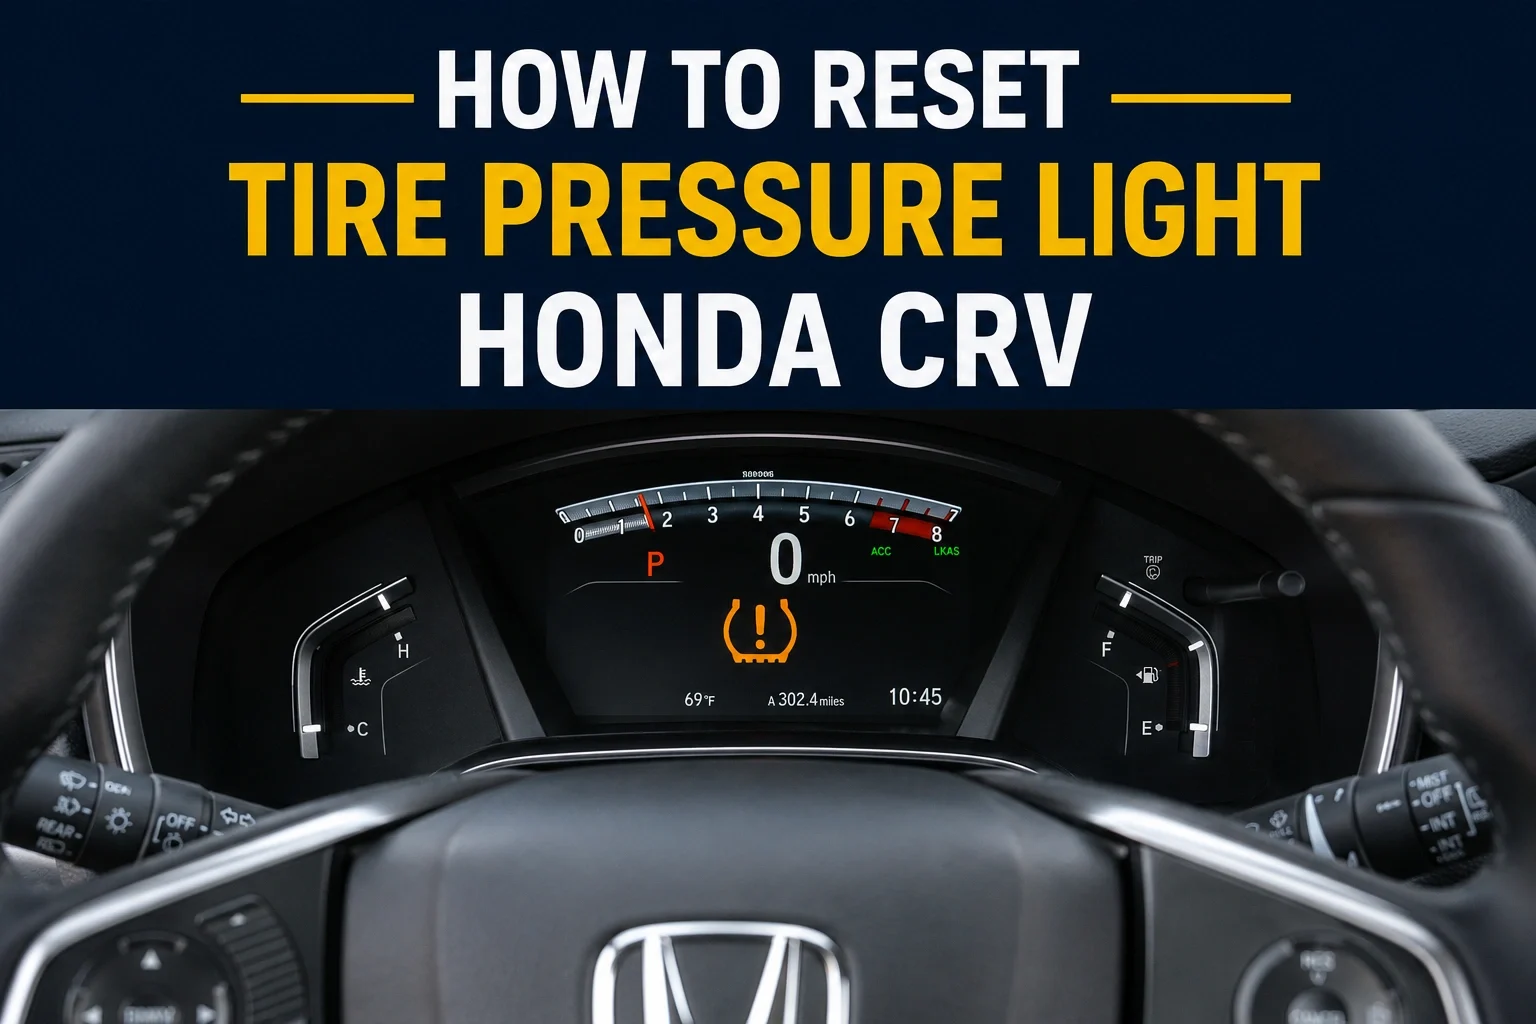
A steady amber tire-shaped symbol commonly indicates that the system has detected low pressure or a pressure difference. A flashing TPMS light, especially one that flashes for about a minute and then stays on, often indicates a system malfunction rather than ordinary low pressure.
A message such as “Check TPMS” or “TPMS Problem” deserves more attention than a simple low-pressure alert. It can indicate a failed sensor, a sensor that was not registered after tire work, a wiring problem, or a system that cannot complete its checks.
How to confirm the reset worked
The best verification combines the dashboard result with a physical inspection. A light that turns off is encouraging, but it does not prove that every tire is holding air. Check the actual pressures again when the tires are cold and pay attention to whether one tire differs noticeably from the others.
Understanding how to reset tire pressure light honda crv also means recognizing the limits of the method.
Use the door label as the reference
Compare the gauge readings with the driver’s door-jamb label each time you verify pressure. Do not use the dashboard’s temporary reading, the tire sidewall maximum, or a generic pressure number found for another CR-V trim.
Watch for a returning warning
If the light remains off over normal driving, the pressure stays near the recommended level, and there are no handling changes, the reset likely succeeded. If the warning returns within a short period, measure the tires again instead of repeatedly calibrating the system.
Check your result
A successful check has three parts: the tire pressures match the door label, the warning stays off after the vehicle is driven, and no tire is losing air compared with the others.
Troubleshooting a Honda CR-V tire-pressure light that stays on
When the light does not clear, the next step depends on whether the tires are actually low and whether the indicator is steady or flashing. Repeating the reset without finding the cause can delay repair of a puncture or sensor fault.
| What you see | Likely direction | What to do |
|---|---|---|
| Steady light after inflation | Calibration was not completed, or a tire is still outside the expected range | Recheck all pressures cold, confirm the correct menu, and complete the calibration drive |
| Light returns after a day or several drives | Slow leak, temperature change, or uneven pressure | Measure each tire and have a tire shop inspect any tire that loses pressure |
| Light flashes, then stays on | TPMS malfunction or sensor communication problem | Arrange diagnosis; do not rely on calibration alone |
| Light appears after tire or wheel service | Sensor registration, damaged sensor, or incompatible wheel component | Return to the servicing shop or have the TPMS checked |
The light stays on immediately after calibration
Confirm that you adjusted all four tires, not just the tire that looked low. Then repeat the process with the correct ignition mode and the exact calibration menu for your model year. Some drivers accidentally reset the oil-life reminder or another maintenance item because the controls are located near one another.
If the pressures are correct and the light remains on after the required drive, the CR-V may need a diagnostic scan. A tire shop or Honda service department can check sensor communication and stored fault information.
The warning returns after inflation
A returning warning usually means the underlying pressure change has not been fixed. Inspect for a puncture, valve leak, wheel damage, or a tire that is losing air at the bead. Do not keep adding air indefinitely without finding the leak.
Temperature changes can also cause a warning without a puncture, but the pressure should still be adjusted to the door-label specification. If the warning continues to recur as temperatures stabilize, have the tires inspected.
The light flashes instead of staying steady
A flashing indicator generally points to a TPMS system fault. Possible causes include a failed wheel sensor, a sensor battery that has reached the end of its service life, missing sensor registration, or a communication issue.
Calibration may not correct this condition. Seek qualified tire or automotive service, particularly if the vehicle has recently received new wheels, replacement tires, or suspension work.
After replacing tires or wheels
Replacement tires alone do not always require special programming, but wheel changes and sensor replacement can. The shop may need to register new sensor identification numbers or confirm that the wheels contain compatible sensors. Ask what was done before attempting another reset.
If the CR-V uses an indirect system, tire-size differences or uneven tread wear can also affect the system’s baseline. Keep matching tire sizes and follow the vehicle manufacturer’s recommendations for replacement tires.
Honda CR-V tire-pressure reset FAQs
These answers address the questions that most often arise after the pressure has been corrected but the dashboard warning is still visible.
Can I reset the CR-V tire-pressure light without adding air?
You can start calibration without adding air, but you should not do so unless every tire already matches the cold pressure on the door-jamb label. The reset only establishes a reference; it cannot correct low pressure or a leak.
How long does TPMS calibration take on a Honda CR-V?
The menu command is quick, but the vehicle may need normal driving before calibration finishes. The required driving conditions vary by model year, so use the owner’s manual for the most precise instruction. The warning may remain on until the system has collected enough information.
Why is the light on when the tires look fine?
A tire can be underinflated without looking visibly flat, especially on a larger tire with a stiff sidewall. Measure all four tires with a gauge. If the readings are correct and the light returns, investigate a slow leak or TPMS fault instead of judging pressure by appearance.
Do I need to reset the light after rotating the tires?
Follow the instructions for your model year. A CR-V with an indirect system may need calibration after tire rotation if the tire positions or pressures changed. A vehicle with direct sensors may handle the change automatically, but calibration or sensor registration can still be required after related service.
Can I drive with the tire-pressure light on?
First check the tire pressures as soon as it is safe. If a tire is flat, badly damaged, or losing air, do not drive on it. If the pressures are correct and the light is steady, drive cautiously only as needed to obtain inspection; a flashing light or handling problem warrants prompt professional diagnosis.
Finish the reset and keep the warning from returning
Learning how to reset tire pressure light honda crv is mainly a matter of doing the steps in the right order: check the tires cold, match the pressure to the driver’s door label, run the CR-V’s TPMS calibration or initialize command, and drive normally until the system completes its check.
Do not treat a reset as a repair. If the light comes back, a tire loses air, the indicator flashes, or the CR-V reports a TPMS problem, have the tires and sensors inspected. Once the pressures are correct and stable, periodic cold-pressure checks will help you catch problems before the warning becomes urgent.