How to Fix a Cracked Fender Flare: Essential Information Guide
A cracked fender flare can often be repaired if the damage is limited to the plastic and the flare still fits its original mounting points. Small cracks and clean breaks are usually candidates for plastic repair, while shattered, badly distorted, or repeatedly stressed flares are better replaced.
Acting early helps keep a short crack from spreading, but not every damaged flare deserves a repair. A quick inspection should determine whether the piece is structural enough to save, whether the plastic can be bonded or welded, and whether the finished repair will remain secure around the wheel opening.
This guide explains how to fix a cracked fender flare without overlooking the causes behind the damage. You will learn how to identify the plastic, prepare the surface, reinforce and finish a repair, recognize when replacement is more sensible, and avoid common mistakes involving heat, adhesives, fasteners, and wheel clearance.
Inspect the Damage Before Choosing a Repair
Start by washing the fender flare with automotive soap and water so dirt does not hide the full crack. Dry it completely, then inspect both the visible face and the back side with the flare still installed if possible.
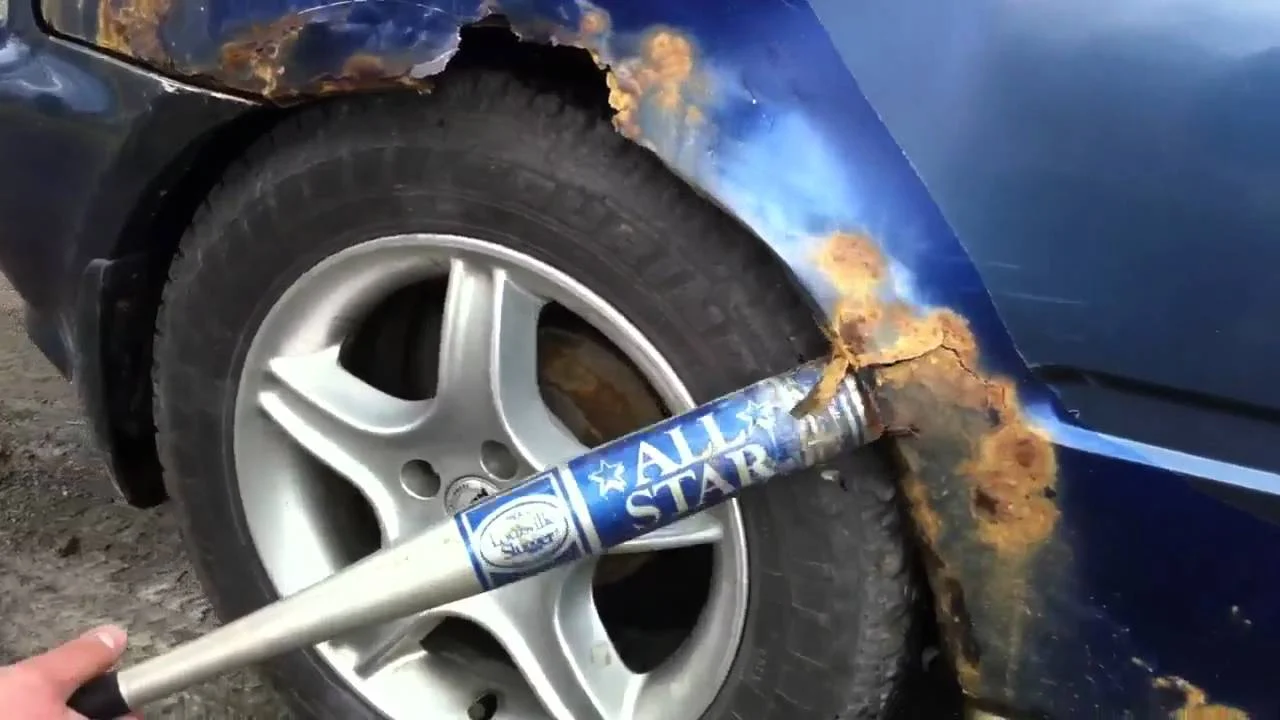
Look for a single hairline split, a clean break, missing plastic, stretched mounting holes, or a section that has changed shape. A crack that stops in the open face is easier to repair than one that reaches a bolt hole, clips, or the edge of the wheel arch.
When a repair is usually practical
A repair is often worthwhile when the flare is made from a repairable thermoplastic, the pieces still align, and most of the material remains present. A short crack caused by a minor impact can usually be reinforced from behind without significantly changing the visible finish.
Lightly flex the damaged area by hand. If the crack opens but the surrounding plastic remains firm, it may respond well to reinforcement. Do not force it repeatedly; every flex can lengthen the split or loosen nearby mounting points.
- The crack has clean, matching edges.
- The mounting tabs and holes are intact.
- The flare is not severely warped or melted.
- No tire, suspension, or body panel is pushing against it.
- The plastic identification mark can be found or reasonably determined.
When replacement is the better choice
Replacement is generally safer when a large section is missing, the flare is crushed, or the crack runs through several mounting locations. A heavily distorted part may look acceptable after repair but fail to hold its shape once it is exposed to vibration, heat, cold, and road debris.
Also investigate the cause before installing another flare. An impact, loose fastener, incorrect wheel offset, oversized tire, or damaged inner liner can crack a replacement in the same location.
Identify the Plastic and Gather the Right Materials
The repair method depends on the flare’s plastic because different materials accept heat, adhesives, and reinforcement differently. Search the back of the part for a molded marking such as PP, PE, ABS, or a blend; the letters may appear inside a small triangle or near the manufacturer’s information.
Polypropylene and polyethylene are common on flexible exterior trim and can be difficult for ordinary adhesives to bond reliably. ABS is more rigid and may accept certain plastic adhesives well, while an unknown or coated surface requires a cautious test on an unseen area.
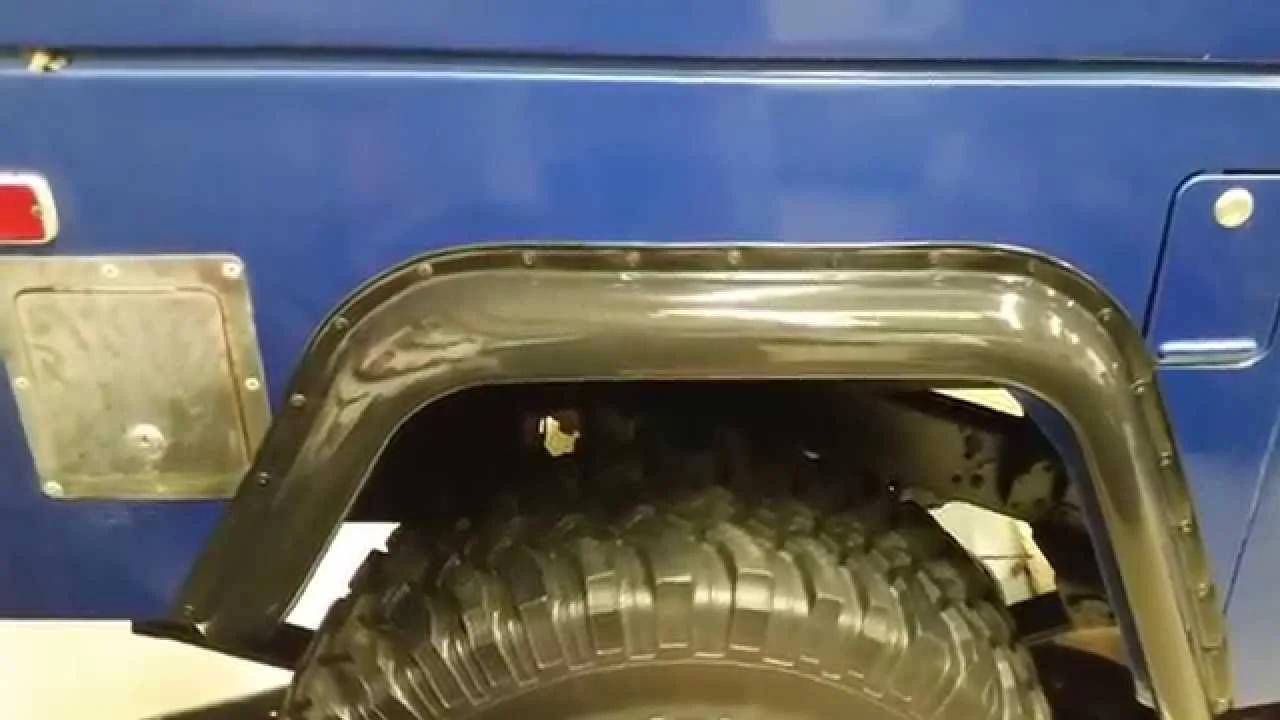
Basic supplies for a small crack
For most repairs, use a degreasing cleaner, lint-free towels, fine-grit sandpaper, masking tape, and a suitable plastic repair product. Depending on the material and damage, that product may be a two-part plastic adhesive, a plastic-welding tool, or compatible reinforcement mesh.
- Automotive plastic cleaner or isopropyl alcohol
- Sandpaper, approximately 80- to 120-grit for the back and 320- to 600-grit for finishing
- Plastic repair adhesive matched to the flare material
- Mixing surface, applicator, and disposable gloves
- Clamps or tape to hold the crack aligned
- Plastic reinforcement mesh or donor plastic, when appropriate
- Primer and flexible trim or automotive paint if appearance matters
Read the product label for surface preparation, working time, cure time, and compatibility. A general-purpose household super glue may become brittle, leave a visible white residue, and fail when the flare flexes.
Why reinforcement matters
Adhesive on the outside alone rarely provides a durable repair. The back side carries much of the reinforcement, so a shallow groove, adhesive bead, mesh patch, or welded seam can spread stress across a wider area.
Keep reinforcement away from the tire and from any clip or bolt that must seat flat. Extra material behind a mounting point can prevent the flare from sitting correctly and create new pressure that reopens the crack. This distinction matters when answering “how to fix a cracked fender flare”.
How to Fix a Cracked Fender Flare Step by Step
Remove the flare when access is limited or when the crack reaches the rear surface. Removing it allows thorough cleaning, accurate alignment, and reinforcement on the side that will not be visible after installation.
Photograph the fastener locations before removal and place clips, screws, and washers in a labeled container. Old plastic clips can break during disassembly, so have compatible replacements available rather than forcing a damaged fastener back into service.
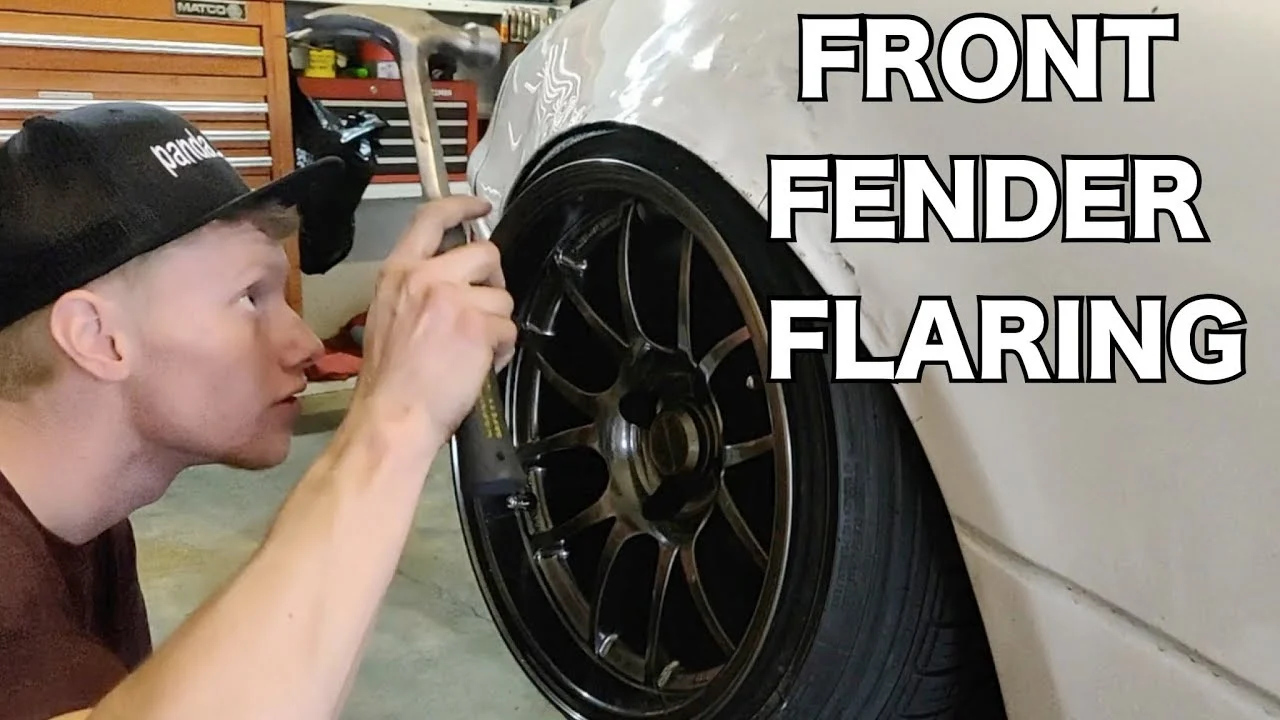
1. Clean and prepare the crack
Wash the part, then wipe the repair area with an appropriate cleaner. Avoid leaving wax, silicone dressing, grease, or polish on the plastic because contamination can prevent a reliable bond.
Use a sharp utility knife or small rotary tool to create a shallow V-shaped groove along the back of the crack if the material and repair product allow it. The groove gives the adhesive or weld more surface area, but it should not cut deeply enough to weaken the face.
2. Align the broken edges
Bring the edges together so the flare returns to its original contour. Use masking tape on the visible side or a temporary clamp on an undamaged edge; do not clamp so tightly that the plastic bows or the crack becomes offset.
Check the alignment against the vehicle before applying repair material. A flare can look straight on a workbench but sit incorrectly over the wheel opening if the surrounding curve is not maintained.
3. Apply the repair from the back
Apply the plastic adhesive or welding material to the prepared rear groove according to its instructions. For a long crack, work in manageable sections so the material does not cure before the edges are fully aligned.
For a plastic-welding repair, use controlled heat and compatible filler rather than melting the flare aggressively. Excess heat can warp the part, create a brittle burned area, or damage the visible texture.
Where additional strength is needed, press compatible mesh or a small piece of matching plastic into the wet repair material. Keep the reinforcement broad enough to distribute load but clear of mounting holes and the tire path.
4. Allow complete curing
Leave the flare supported and undisturbed for the full cure time stated by the product manufacturer. “Dry to the touch” does not necessarily mean the repair has reached handling strength, and early installation can pull the crack open.
Temperature affects curing. A cold garage can slow the process, while direct high heat can soften or distort trim. Use a clean, moderate-temperature workspace and avoid guessing when the product label provides a specific time.
5. Finish the visible surface
After the repair has cured, remove tape and inspect the front. If the crack remains visible, apply a compatible finishing filler sparingly, allow it to cure, and sand progressively with finer paper. Keep these limitations in mind when considering “how to fix a cracked fender flare”.
Do not sand through textured grain unless you plan to refinish the entire visible section. A spot repair on textured black plastic may show a different sheen, so a uniform trim coating can produce a more consistent result than trying to match one small area.
6. Reinstall and check clearance
Refit the flare with the original fastener locations aligned. Replace broken clips and tighten screws only enough to hold the part securely; overtightening can crush the plastic and recreate stress around the mounting holes.
Turn the steering from lock to lock and inspect the gap between the flare, tire, liner, and suspension components. Check again after a short drive, especially if the original damage was near a mounting point or wheel opening.
Common Repair Mistakes That Cause Repeat Cracks
The most common failure is treating a cracked flare like a rigid metal panel. Exterior trim moves with vibration and temperature, so a rigid repair placed on a flexible part can transfer stress to the edge of the patch.
Another problem is repairing only the visible face. The front may appear smooth while the back remains weak, allowing the crack to reopen as soon as the flare is flexed or tightened against the body.
- Skipping plastic identification: The wrong adhesive may peel away from polypropylene or polyethylene.
- Leaving contamination: Wax, silicone, and road film interfere with adhesion.
- Using too much heat: A heat gun or welder can warp thin trim quickly.
- Forcing fasteners: A tight screw can pull a repaired crack apart.
- Ignoring the original impact: A bent bracket or tire contact can damage the part again.
- Driving before full cure: Vibration and flexing can weaken an incomplete bond.
Do not rely on zip ties, household tape, or a thick exterior glue bead as a permanent solution near the wheel. Those methods may hold a loose edge temporarily, but they do not address a damaged mounting structure and can detach into the wheel area.
How to Decide Between Repair and Replacement
Cost, appearance, and reliability all matter. A small rear-side crack may be an excellent repair candidate, while a highly visible flare with missing texture may take more time to refinish than a good replacement would require.
When comparing options, confirm that the replacement matches the vehicle’s body style, side, finish, mounting hardware, and flare width. Similar-looking trim can have different clips or contours, and an incorrect part may create tire clearance problems.
Repair the existing flare when the damage is localized and the part remains dimensionally correct. Replace it when the material is fragmented, the mounting system is damaged, the repair would sit directly in the tire path, or the finished part cannot be made secure.
Safety Checks After the Repair
Before driving normally, confirm that no repaired material projects toward the tire. Inspect the inner wheel well, suspension travel area, and liner for contact while the steering is straight and turned in both directions.
Wear eye protection when sanding, cutting, or plastic welding, and provide ventilation when using solvents, primers, or adhesives. Follow the product’s handling instructions, keep heat away from fuel and wiring, and do not work beneath an unsupported vehicle.
- Confirm every fastener is installed and seated correctly.
- Check that the flare follows the body line without tension.
- Verify tire clearance at both steering extremes.
- Look for fresh gaps, movement, or whitening around the repair.
- Reinspect the repair after the first drive and after several trips.
Frequently Asked Questions
Can a cracked fender flare be repaired without removing it?
Yes, a small crack can sometimes be repaired in place. Removal is preferable when the back side needs reinforcement, when the crack is close to a fastener, or when cleaning and alignment are difficult with the flare installed.
What is the best adhesive for a plastic fender flare?
The best adhesive is one labeled for the specific plastic used in the flare. Flexible automotive plastic repair products are generally more suitable than household super glue, but the material marking and product instructions should control the choice.
Does a plastic weld work better than glue?
Neither method is automatically better for every flare. Plastic welding can create a strong repair when the plastic type and filler match, while a compatible two-part adhesive may be easier and cleaner for certain materials or cosmetic cracks.
How long should a repaired fender flare cure?
Use the full cure time printed on the repair product. Working time and handling time are not the same as complete cure, and cold temperatures may extend the process.
Can I drive with a cracked fender flare?
Short, cautious driving may be possible if the flare is secure and clear of the tire. Do not drive normally if it is loose, hanging, rubbing, or likely to detach; secure it safely or replace it before use.
How do I know whether to repair or replace
Choose repair for localized damage with intact mounting points and choose replacement for severe distortion or missing structure. For how to fix a cracked fender flare safely, the deciding factor is whether the finished part will remain aligned and clear of the wheel during normal movement.
Conclusion: Make the Repair Only When the Flare Is Sound
Learning how to fix a cracked fender flare starts with inspection, not adhesive. Clean and align the plastic, reinforce the back with a compatible method, allow complete curing, and reinstall it without creating stress at the fasteners.
The major limitation is structural damage: a shattered, distorted, or tire-contacting flare may not be dependable after repair. If the part cannot hold its shape and clearance, replace it and correct the impact or fitment problem that caused the crack before driving.